SimpleWebsite365 Step-By-Step Guide Setup a website with Microsoft 365
Microsoft 365 doesn't offer a built-in homepage anymore. With SimpleWebsite365 you can easily add a website to your Microsoft 365 tenant and host a professional business website.
In this guide we will use your existing Microsoft 365 account to create an account with SimpleWebsite365, configure your domain and create your business website. If you haven't already read our guide on setting up a business email and domain with Microsoft 365.
If you get stuck anywhere, feel free to reach out via our support chat on the bottom right and we'll try to help you along.
Step 1. Sign-up to SimpleWebsite365 with Microsoft 365
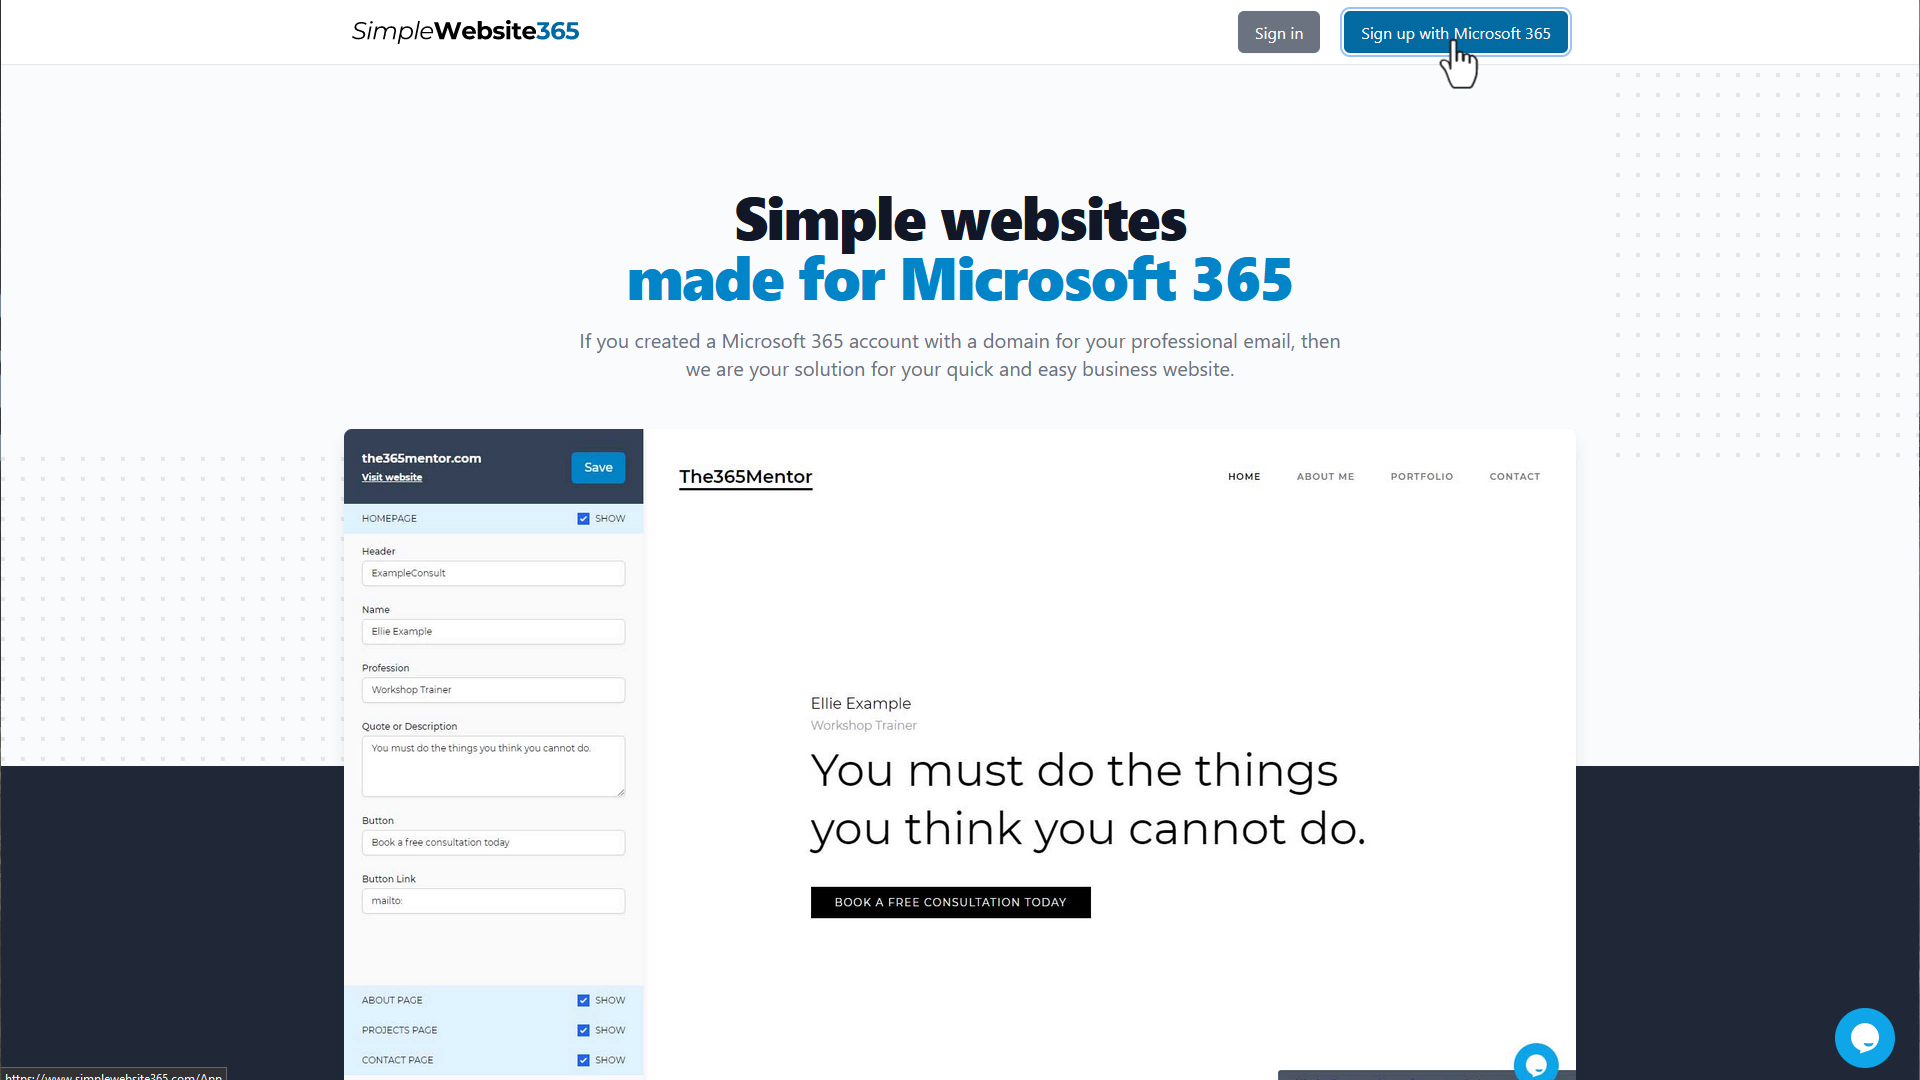
Click here to open the SimpleWebsite365 homepage in a new tab. Keep this tab open and switch in-between for each step.
Click on "Sign up with Microsoft 365" at the top.
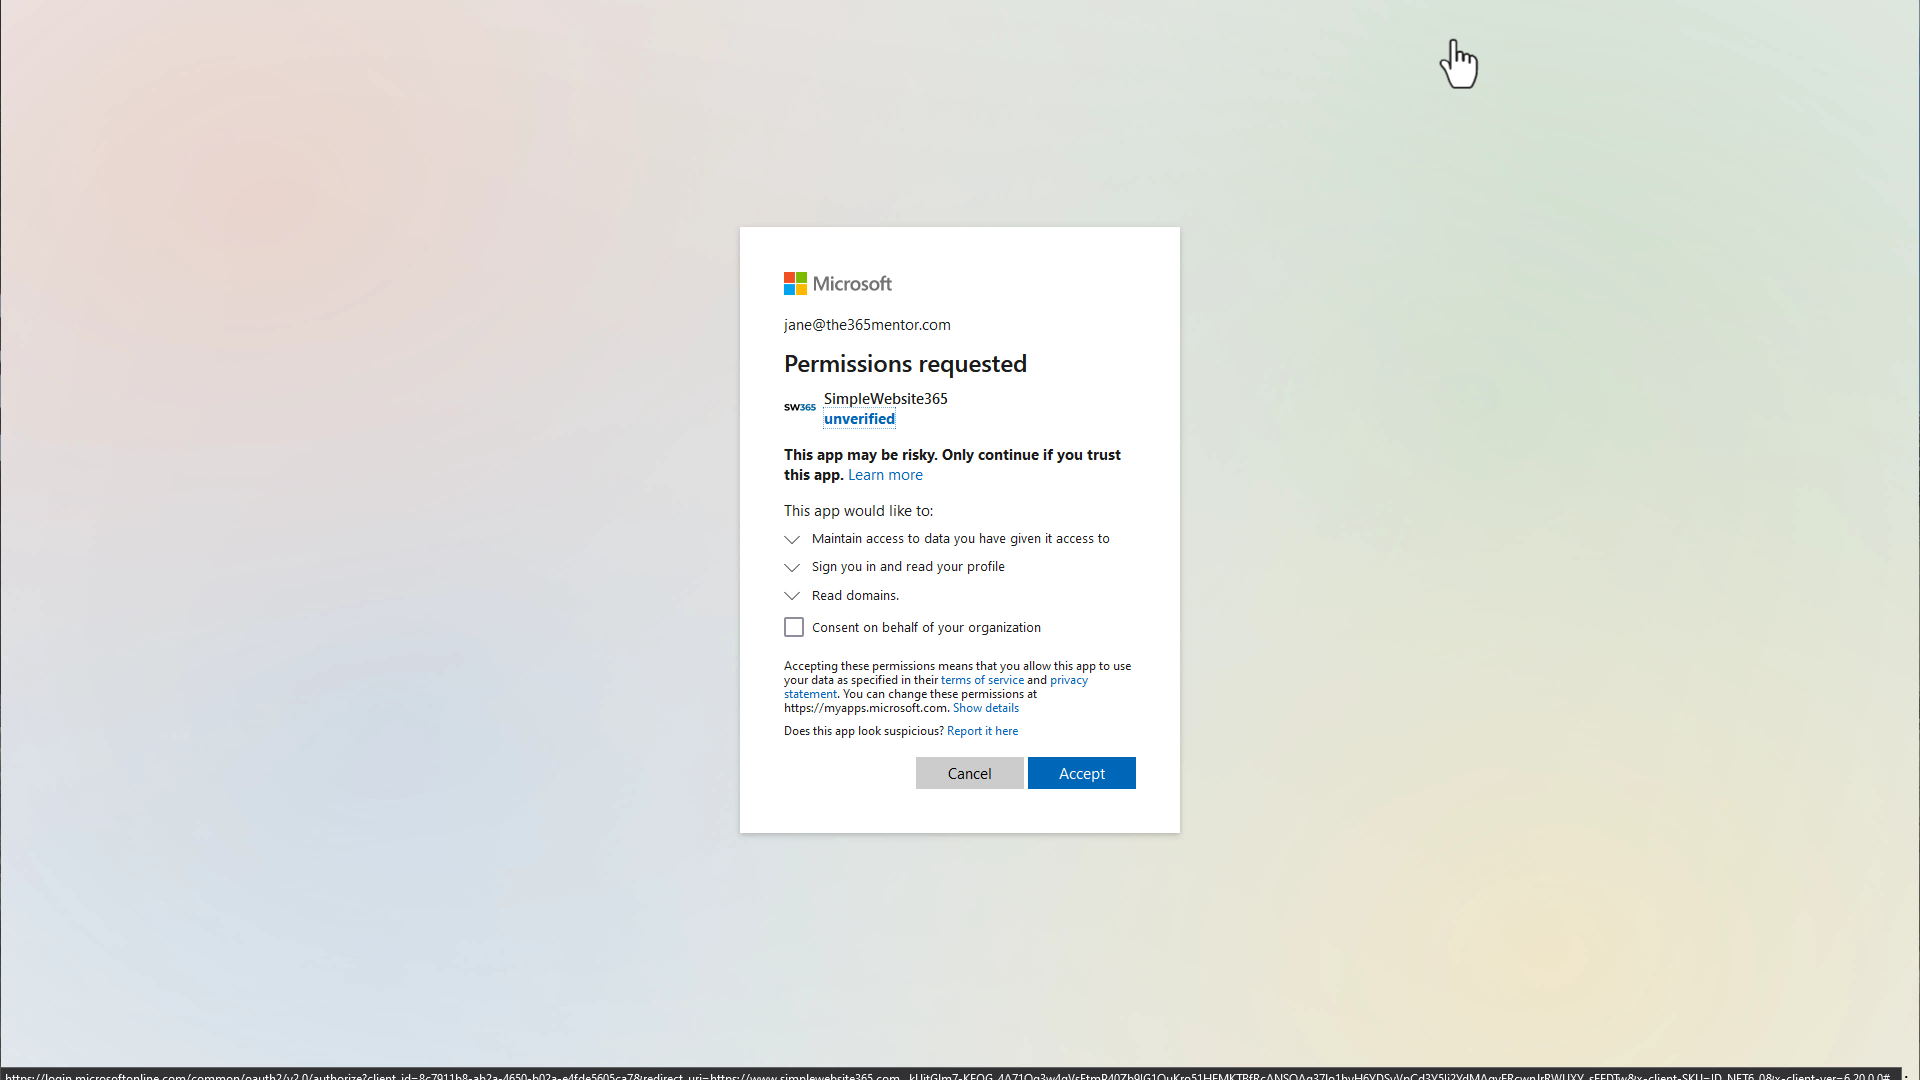
You'll be asked to give SimpleWebsite365 some permissions to read information from your Microsoft 365 account. They are used to populate some website parts and help you configure everything. SimpleWebsite365 doesn't have any access to change anything in Microsoft 365, just to read information.
Click the "Accept" button.
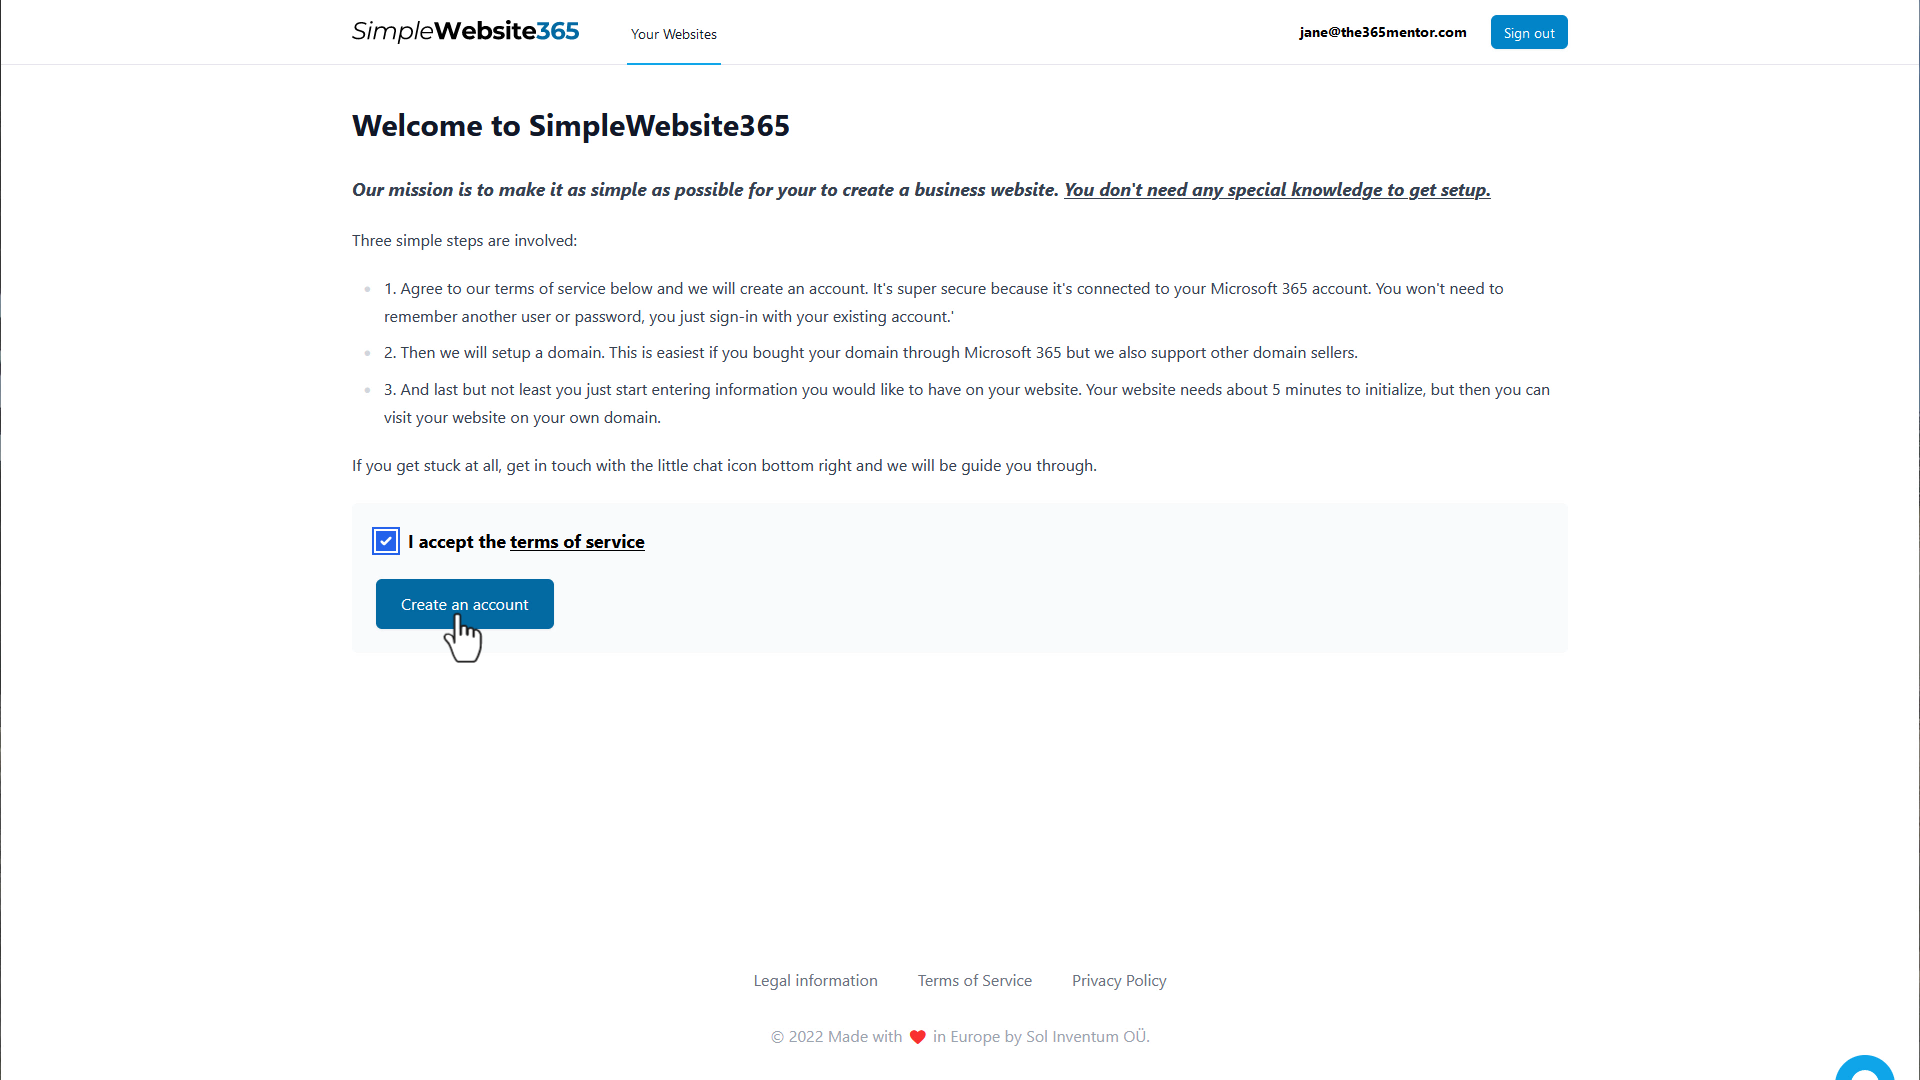
Now you need to accept the terms and conditions for SimpleWebsite365.
Check the box and click on the "Create an account" button.
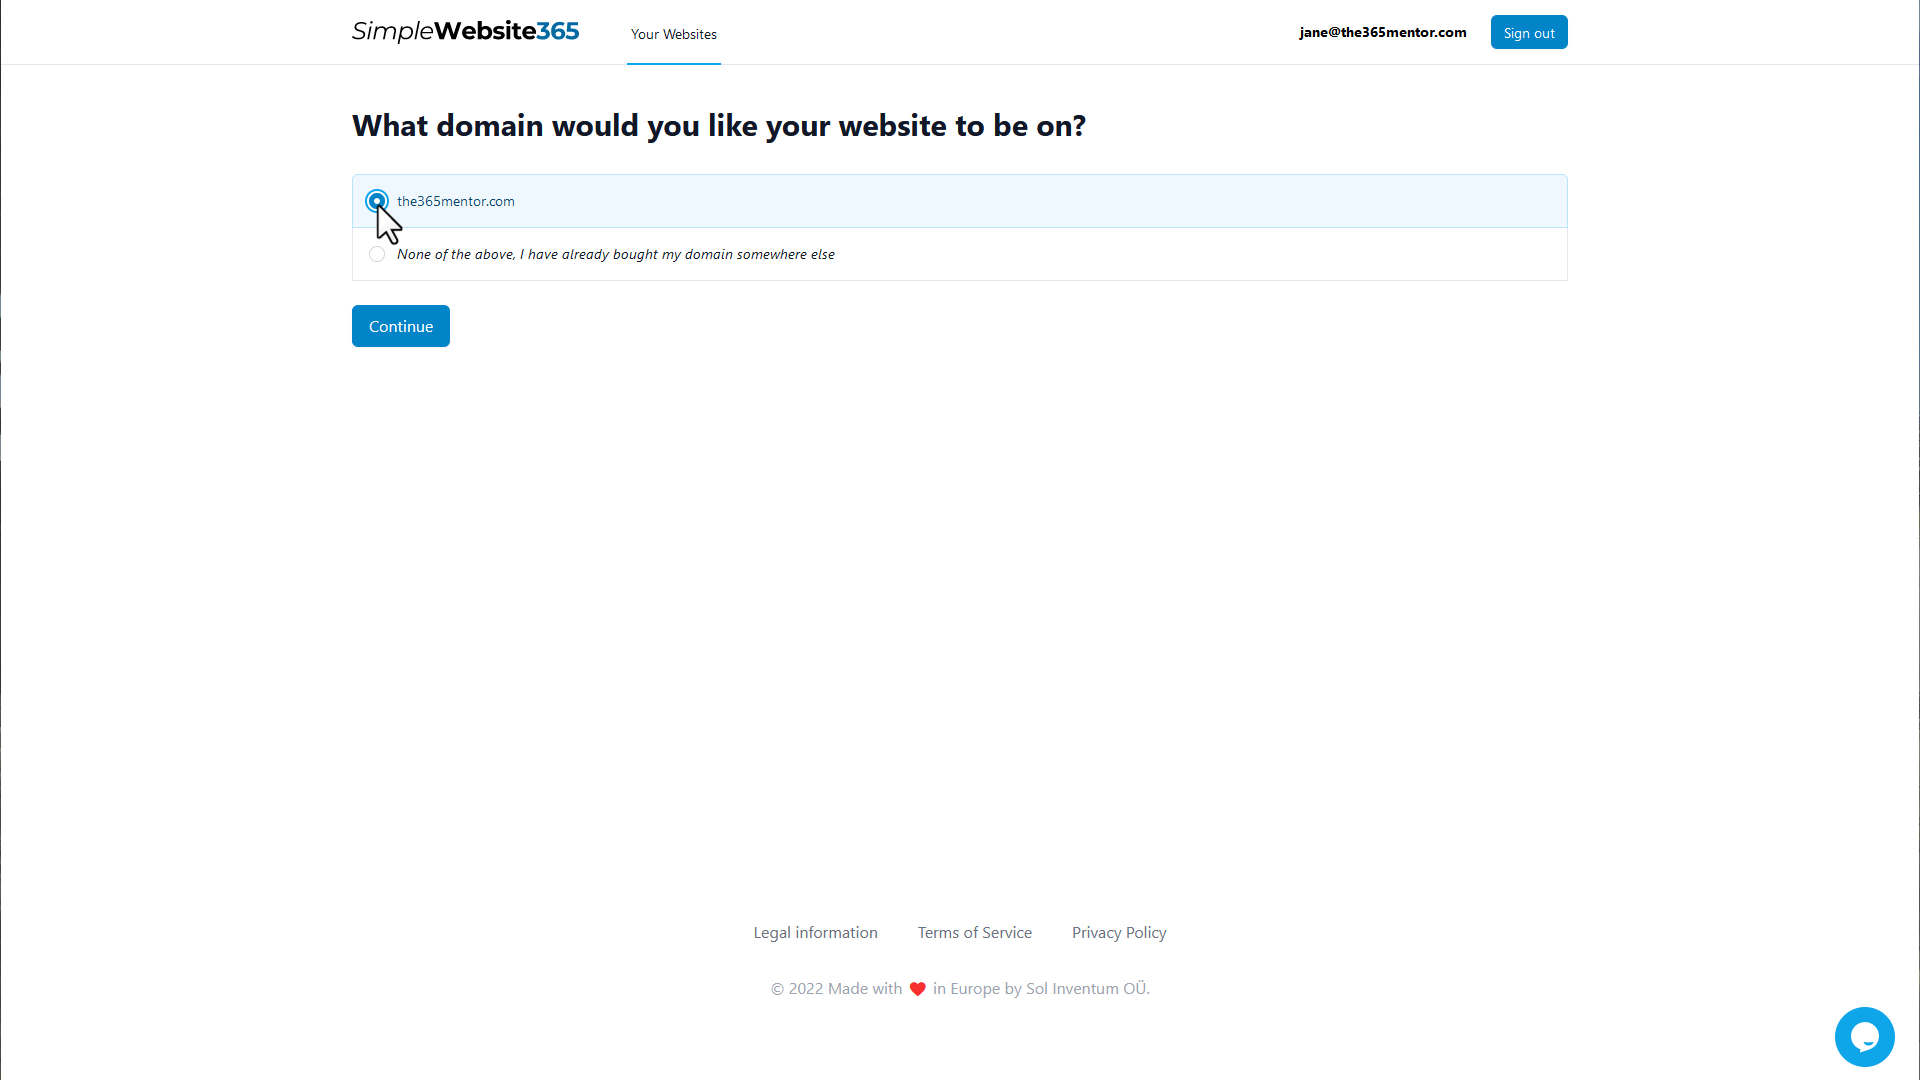
SimpleWebsite365 will check for domains you have in your Microsoft 365 account.
Click the domain you want to setup and then click on the "Continue" button.
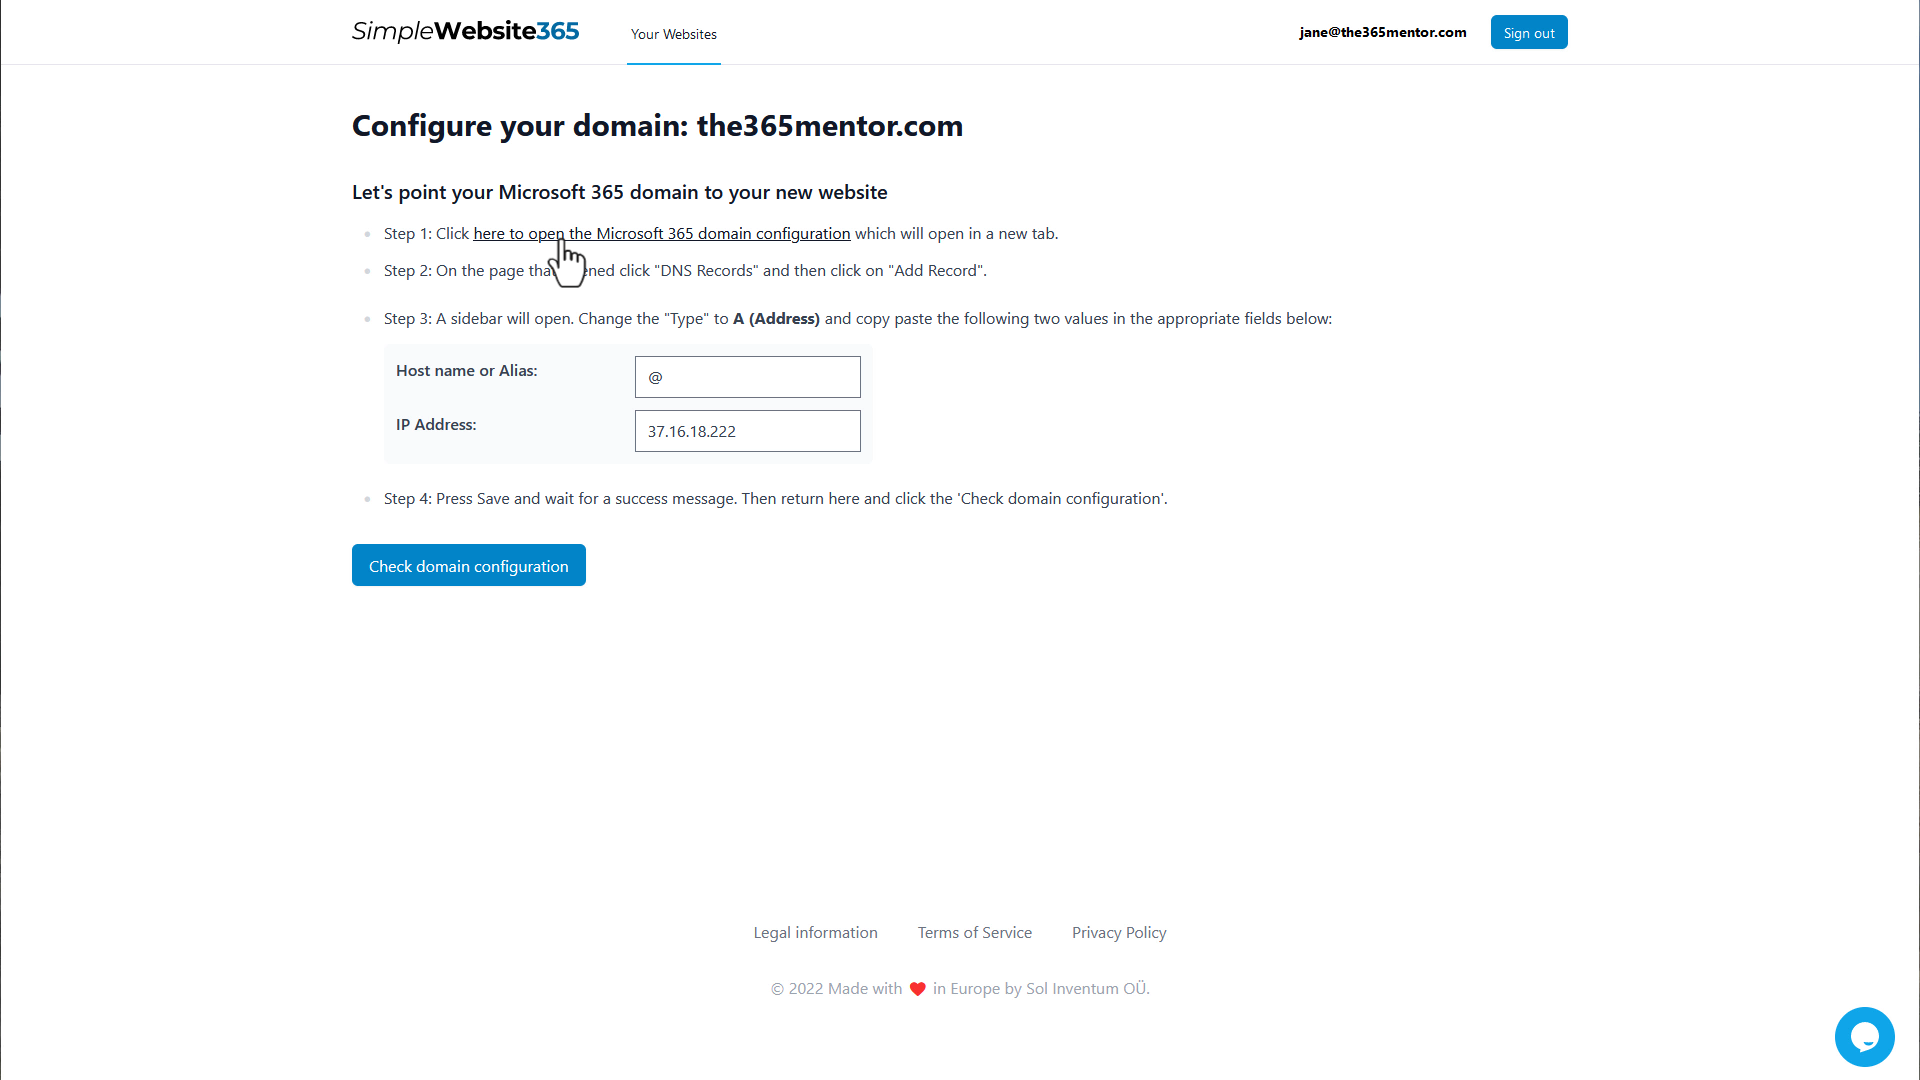
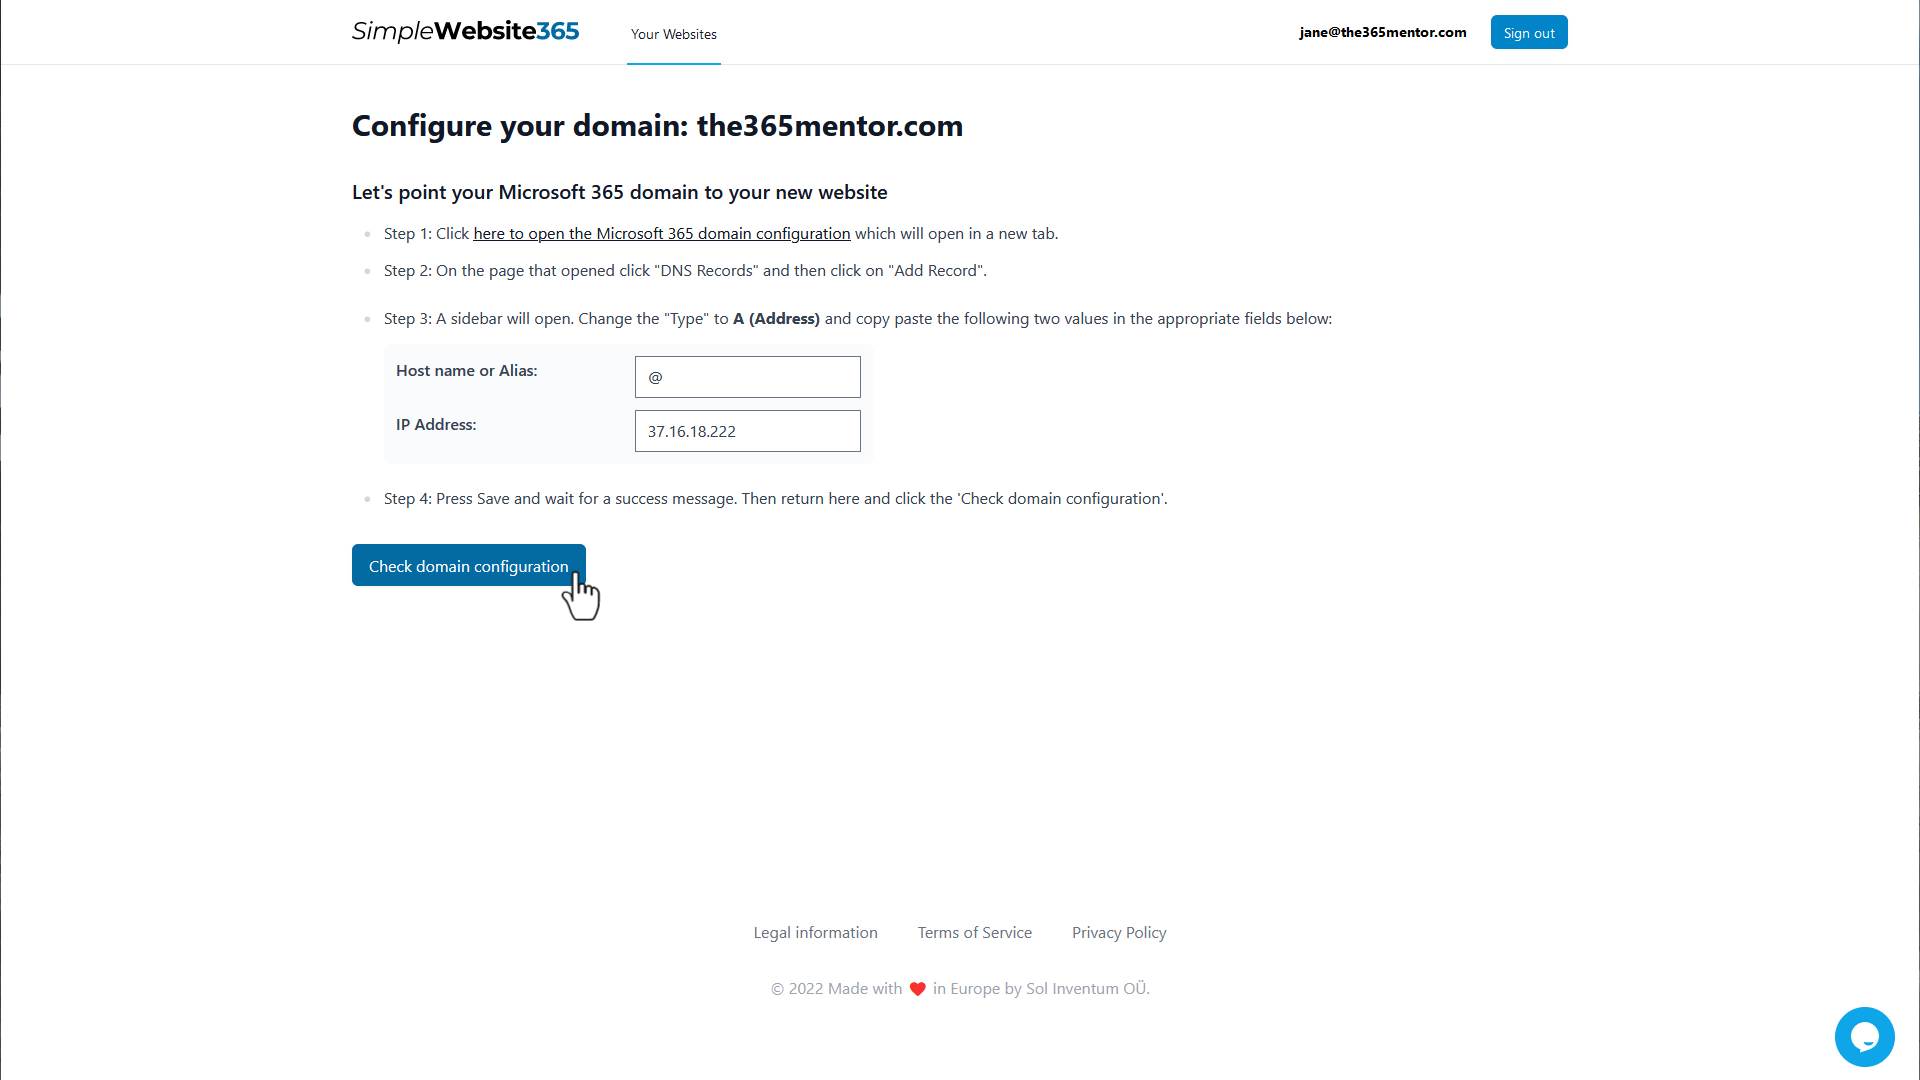
Now it's time to configure your domain. Click the link at the top of the page to open the Microsoft 365 domain configuration page in a new tab.
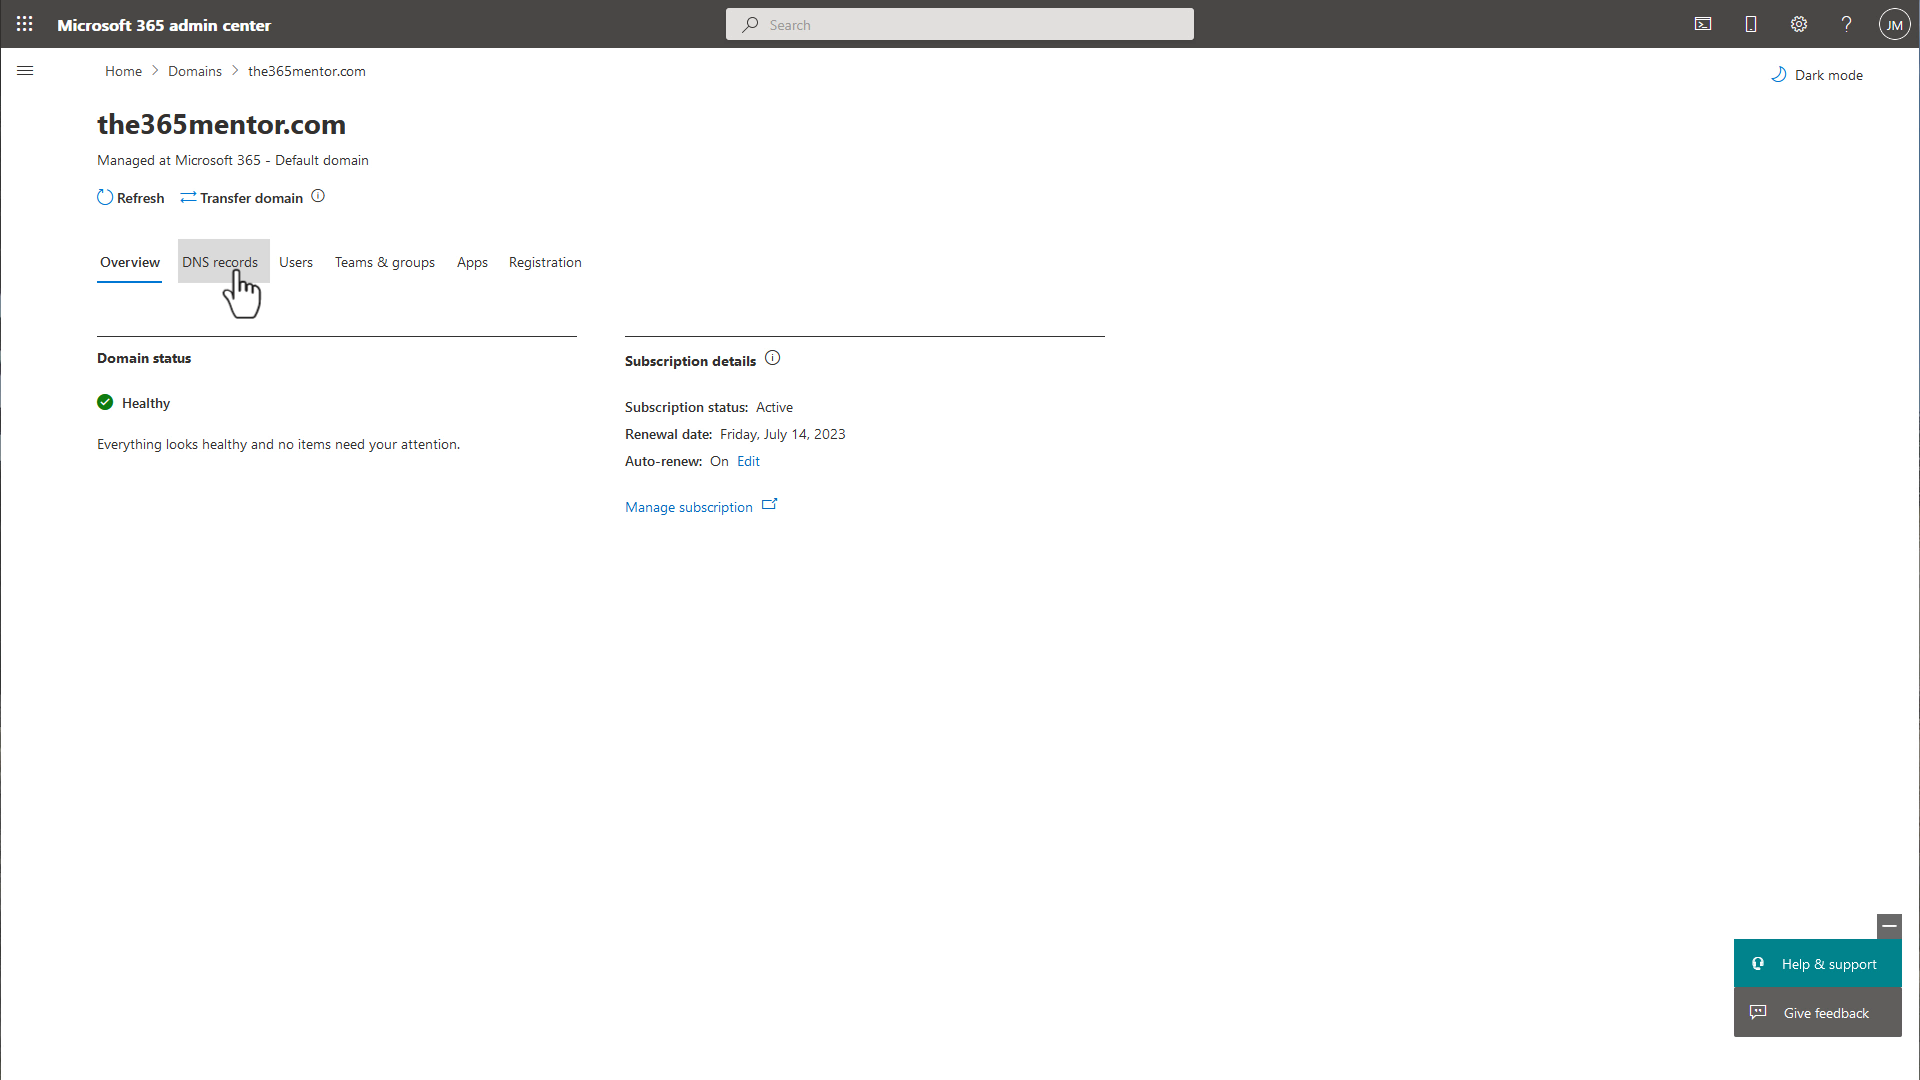
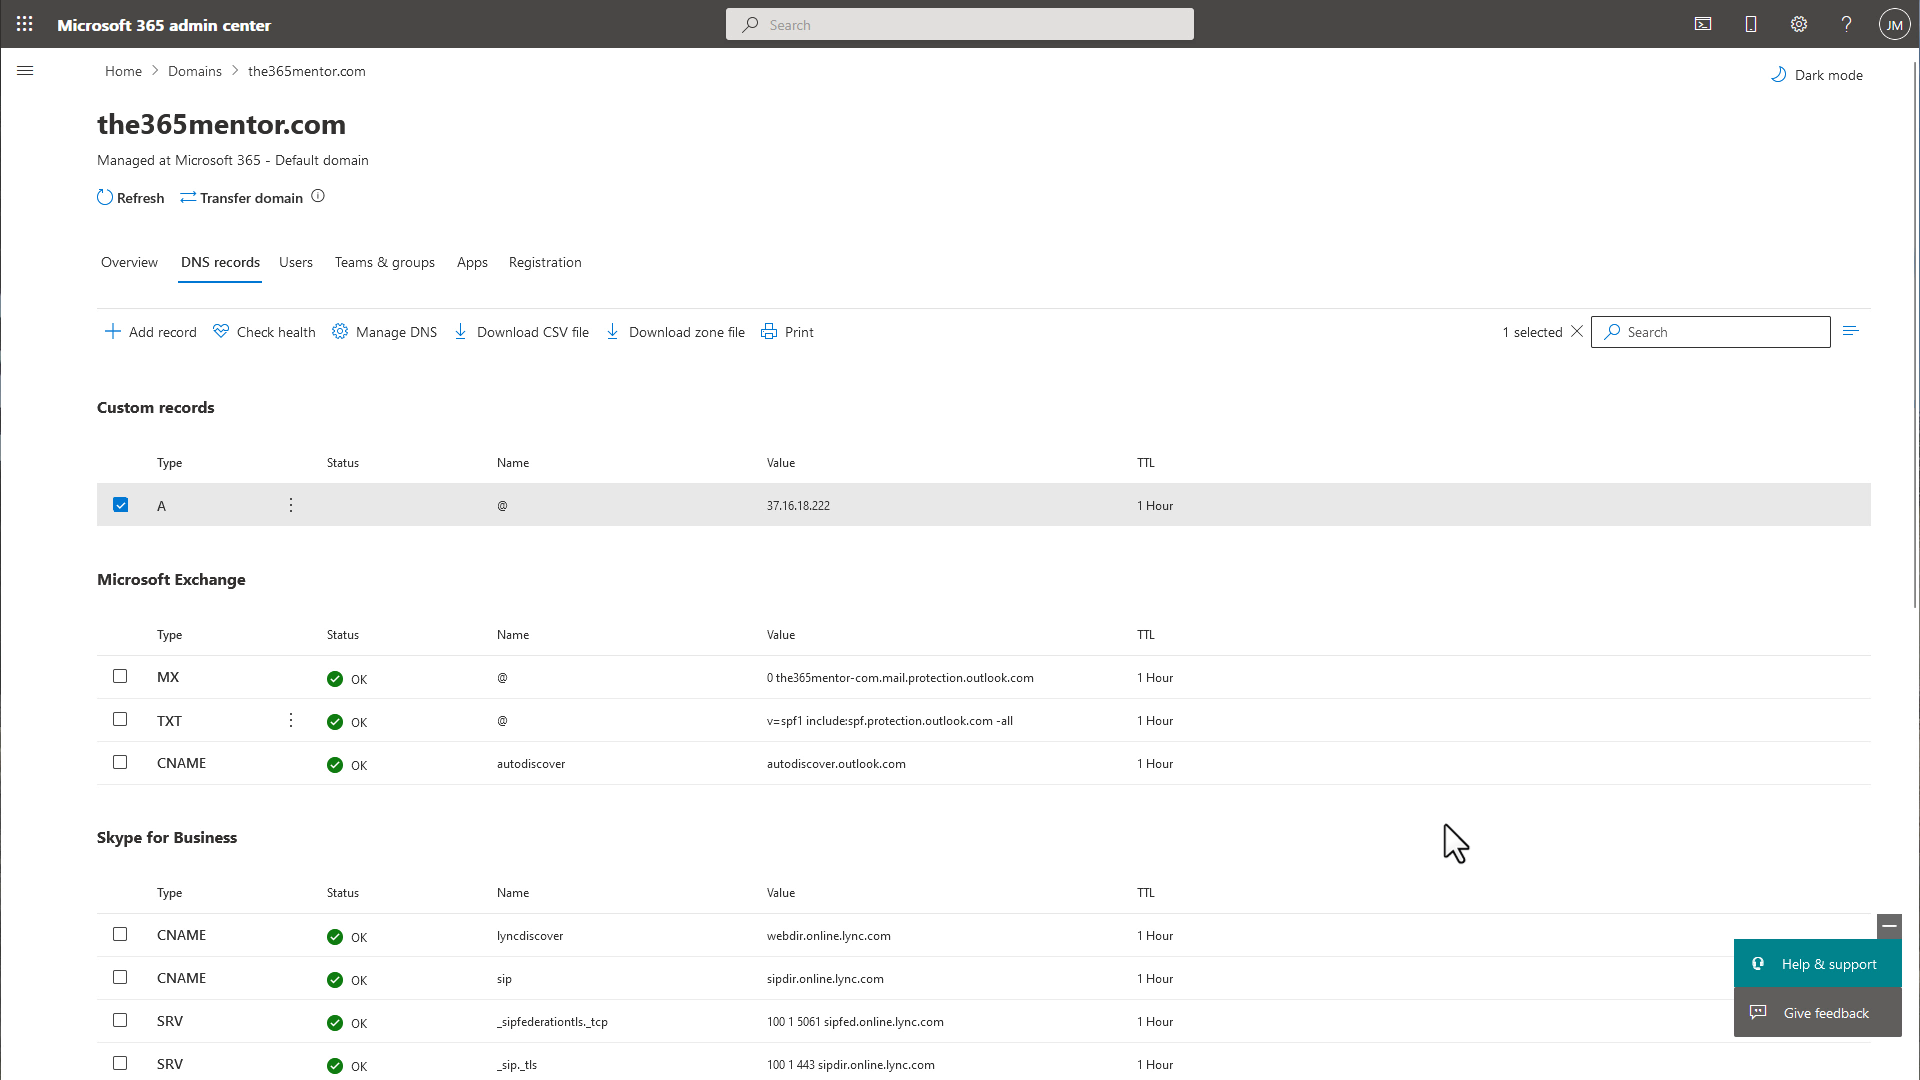
Click on the "DNS records" tab at the top.
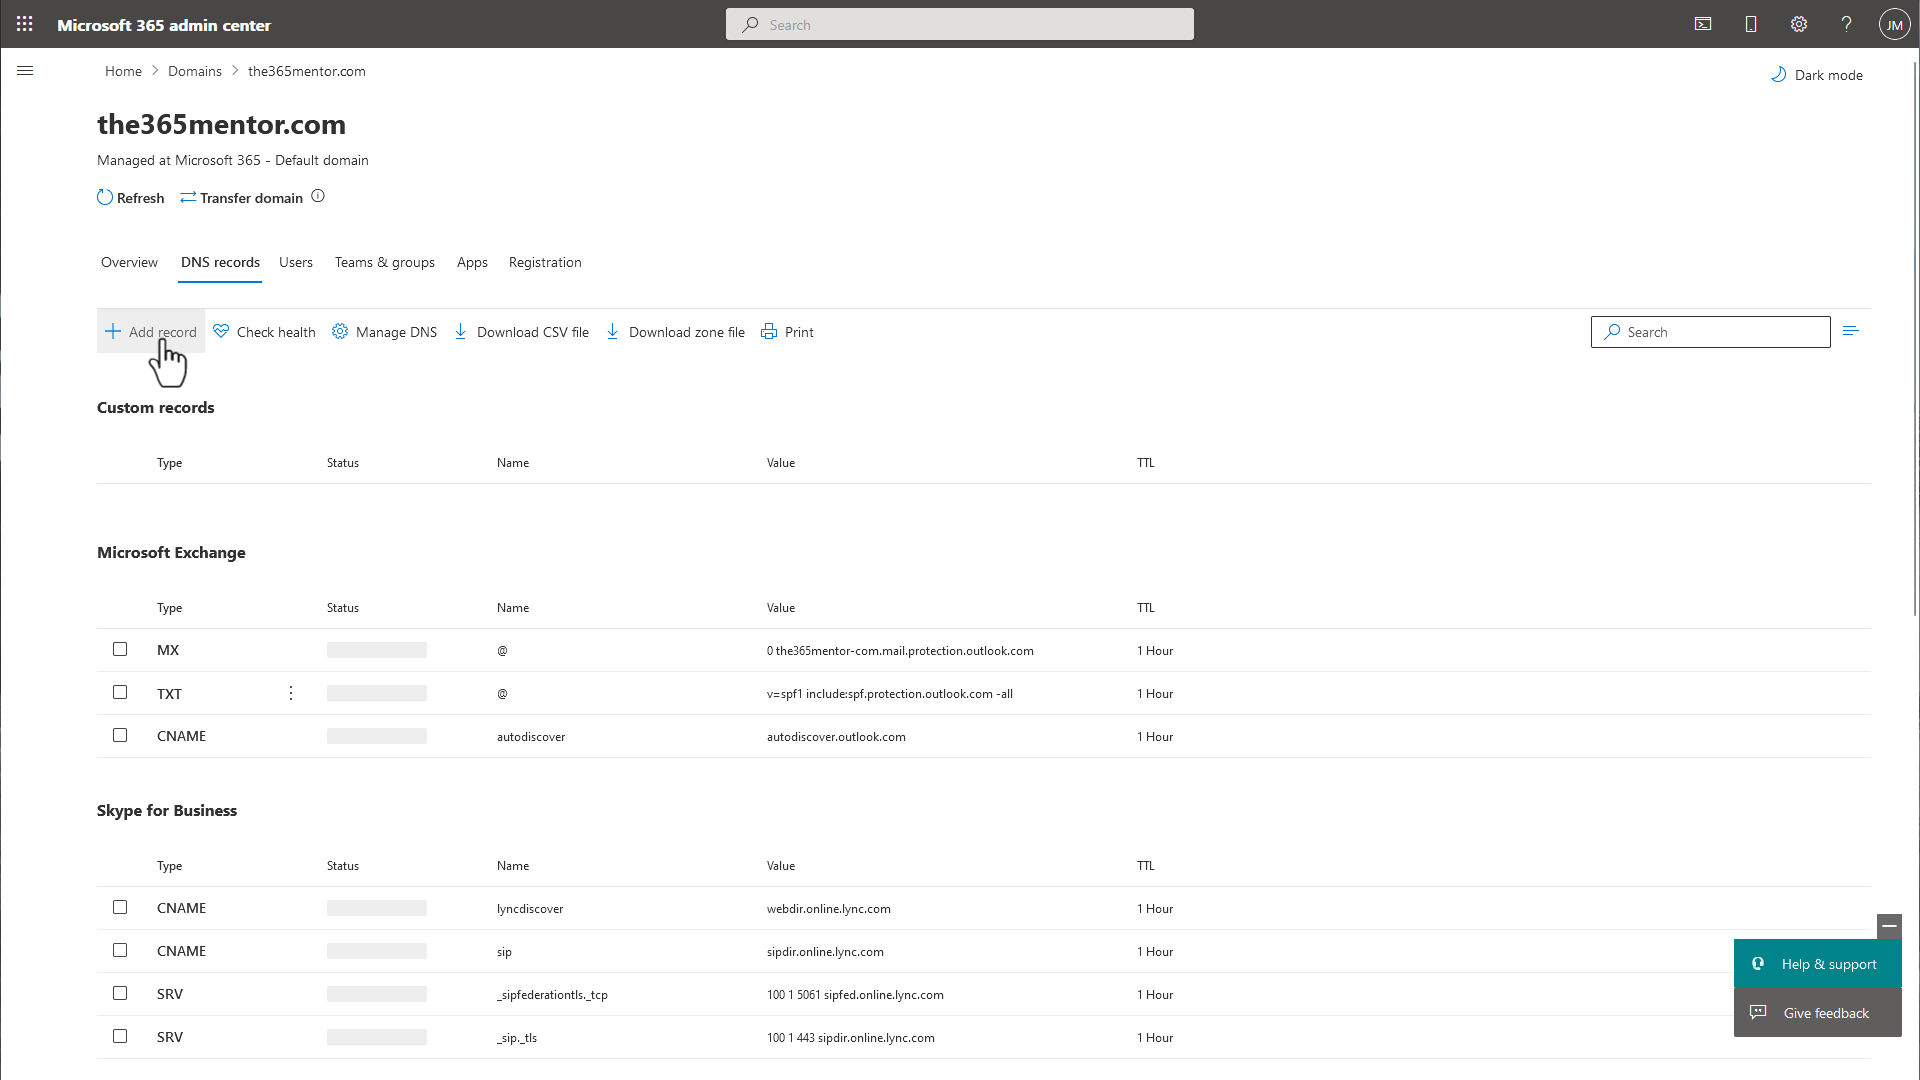
Click the "Add record" button.
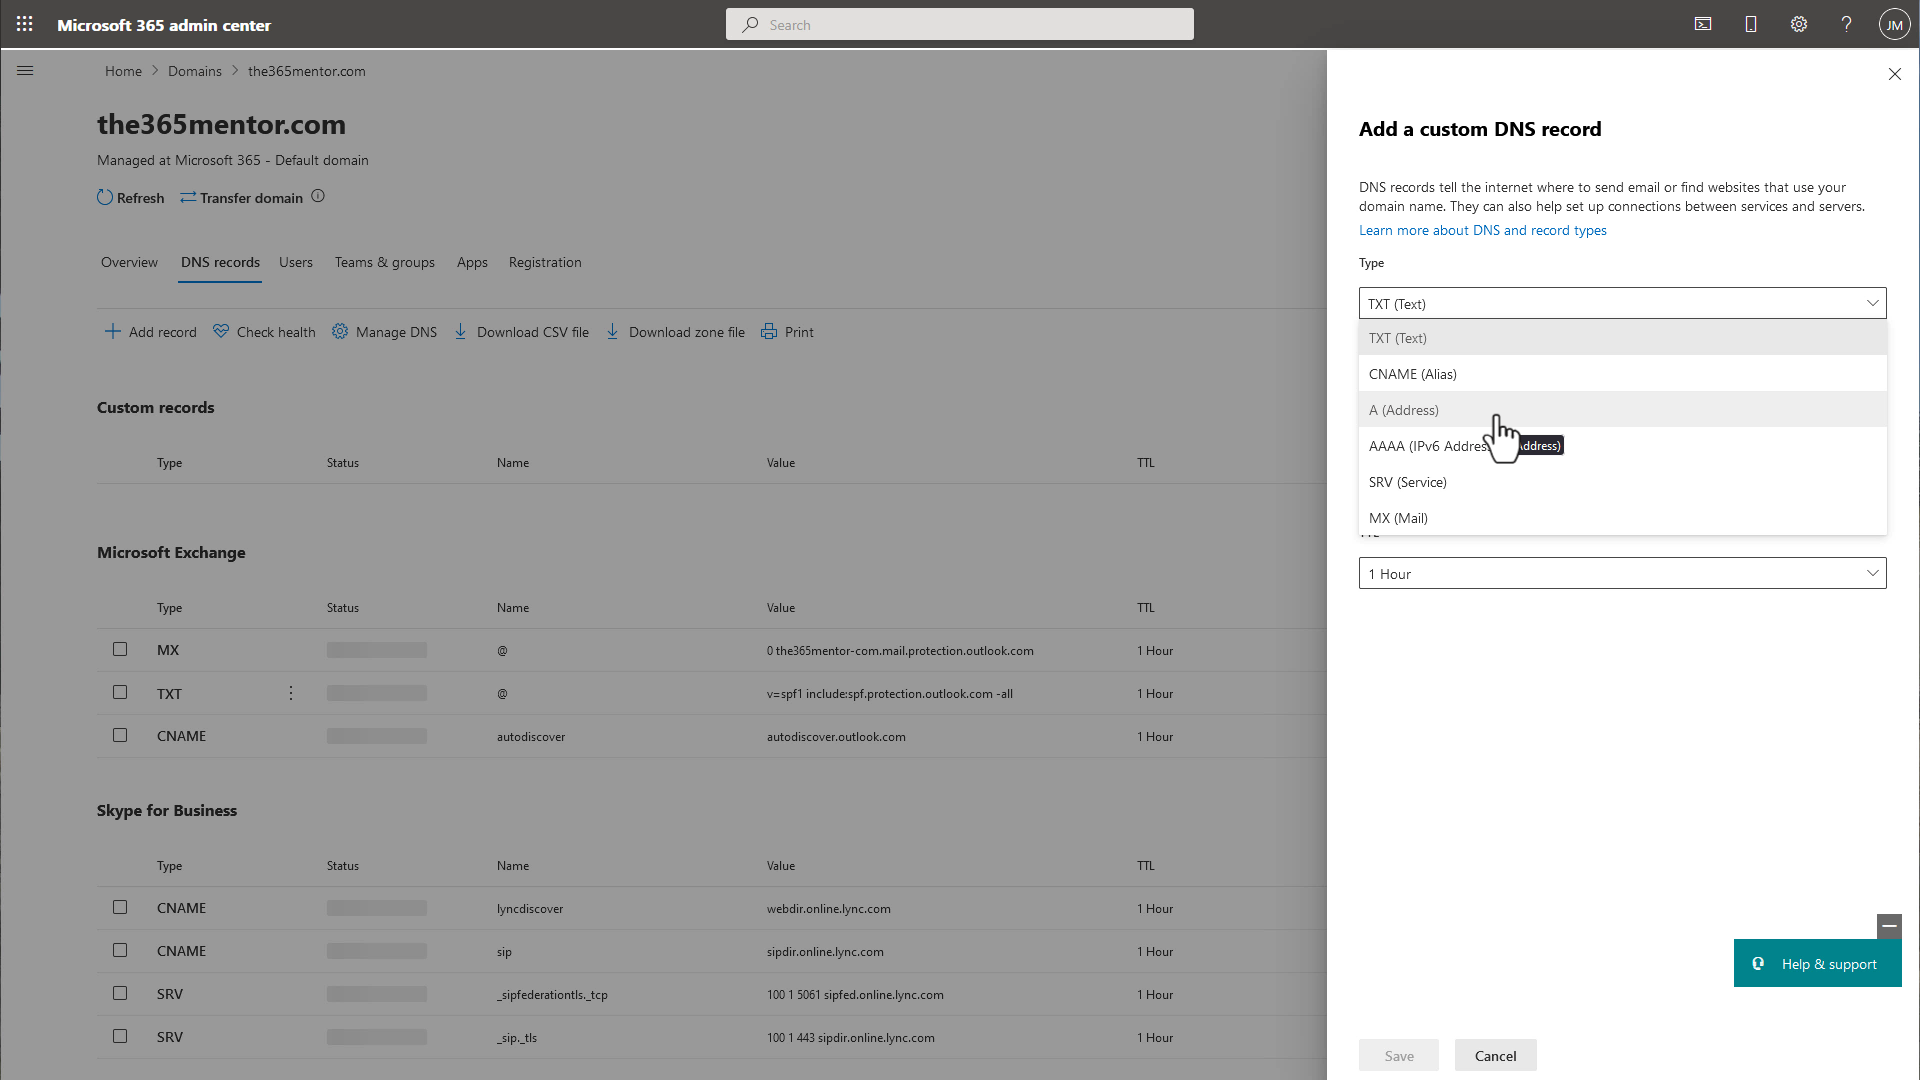
The sidebar will open.
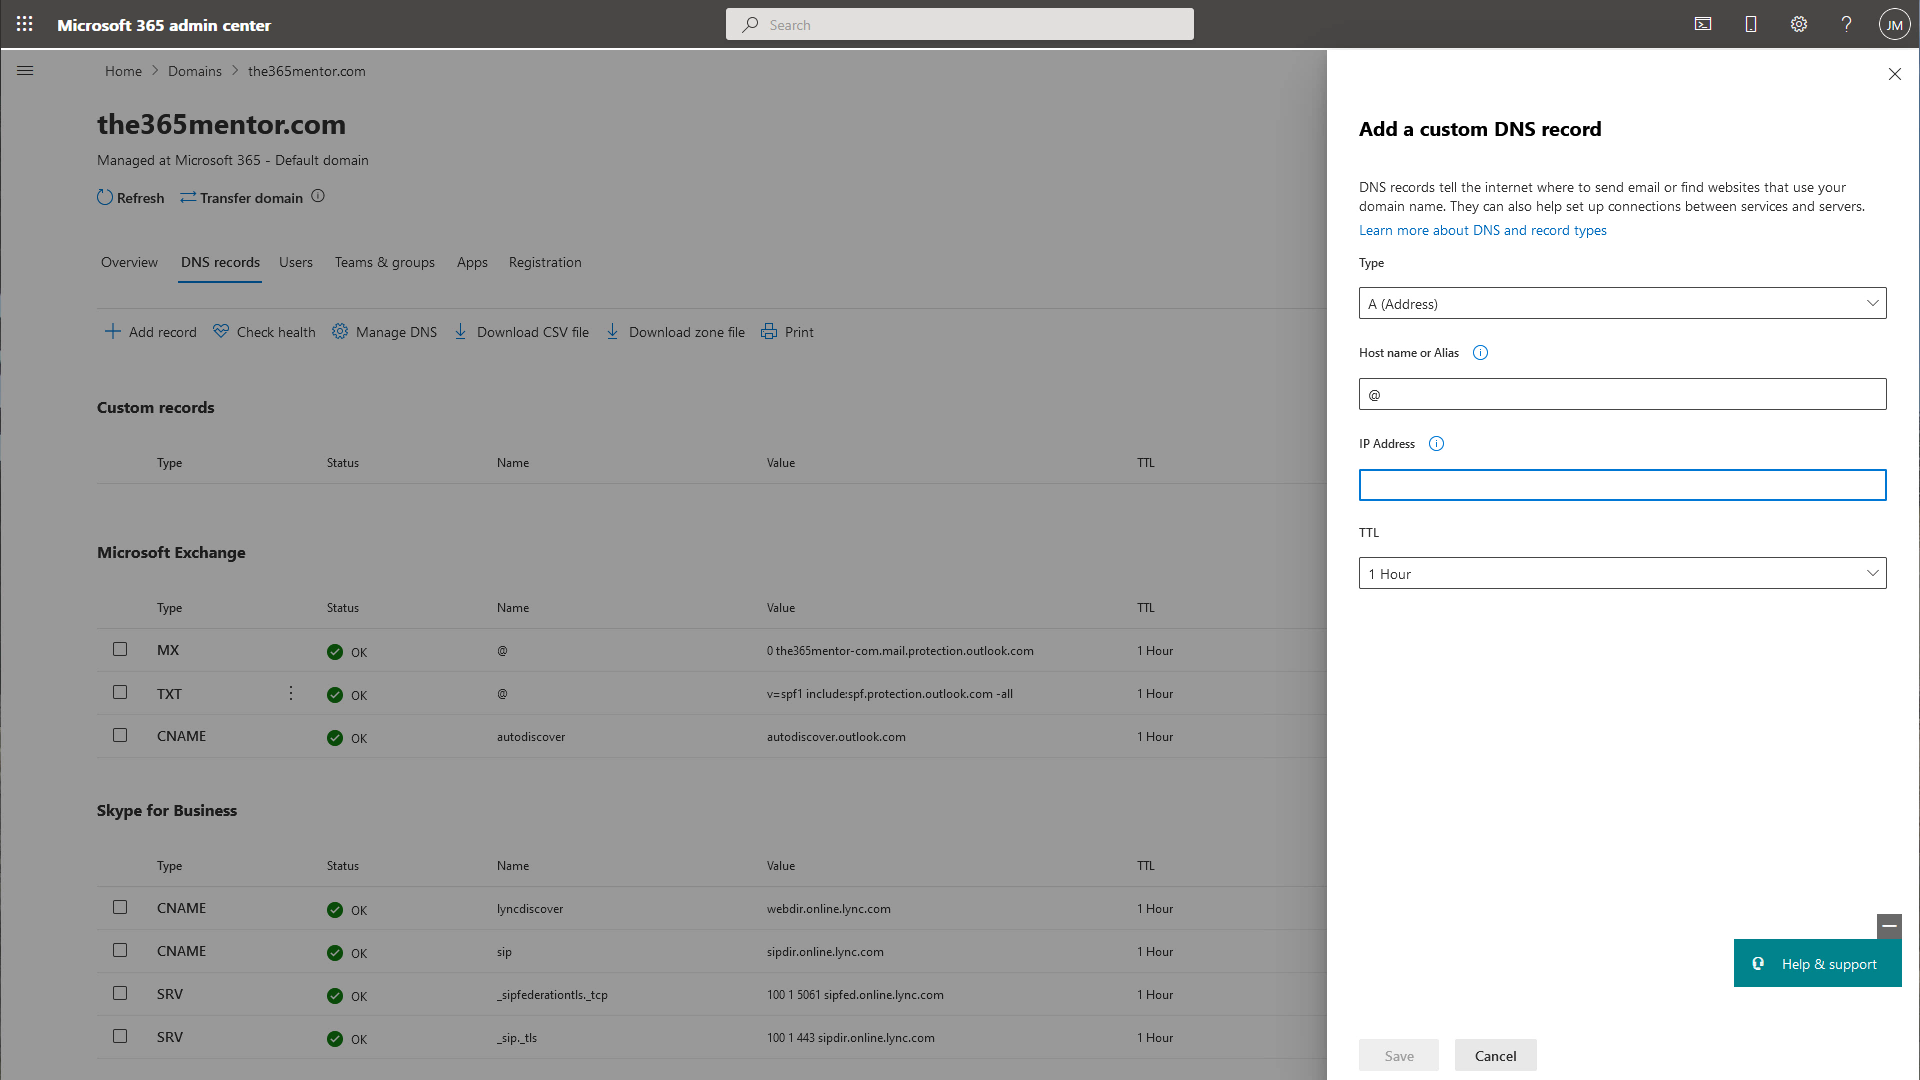
First click on the select box and select the entry "A (Address)" item.
In the field "Host name or alias" type the letter @.
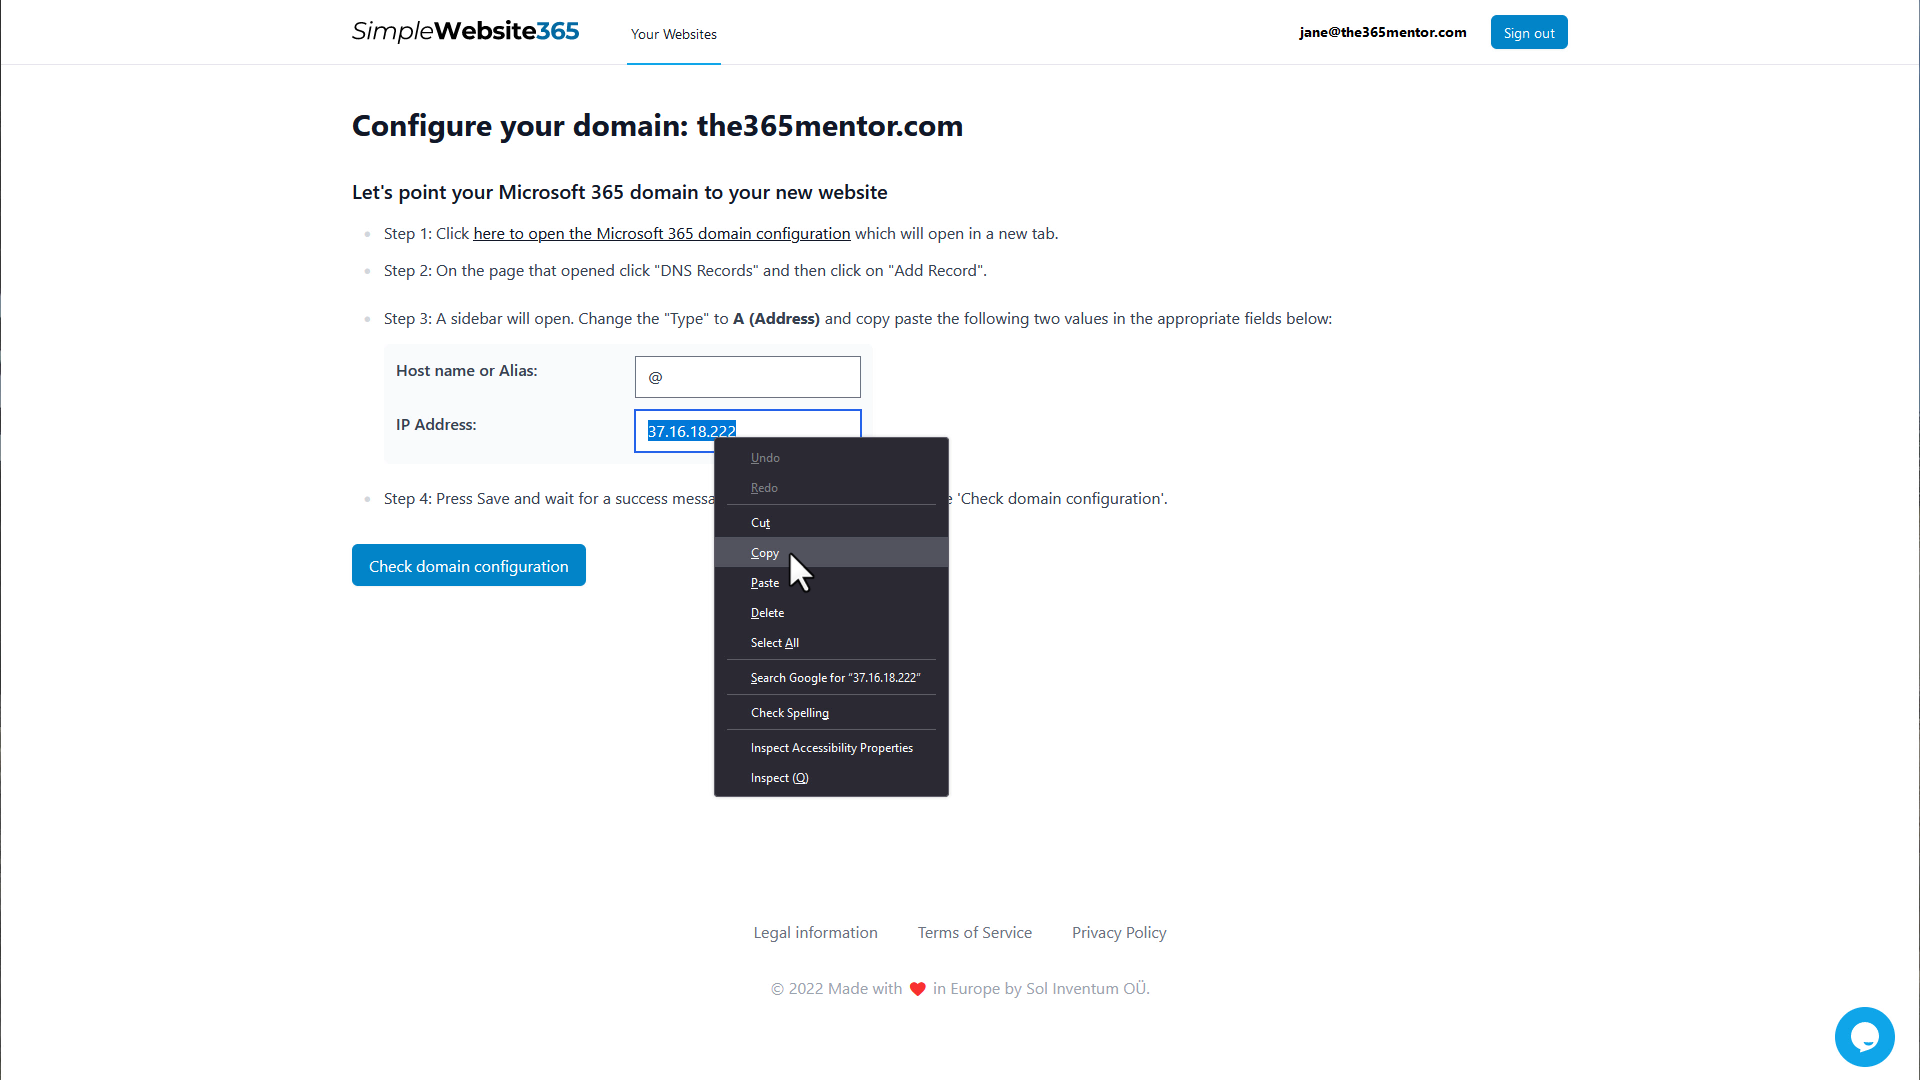
Switch back to the tab with SimpleWebsite365 and copy the value displayed next to "IP Address".
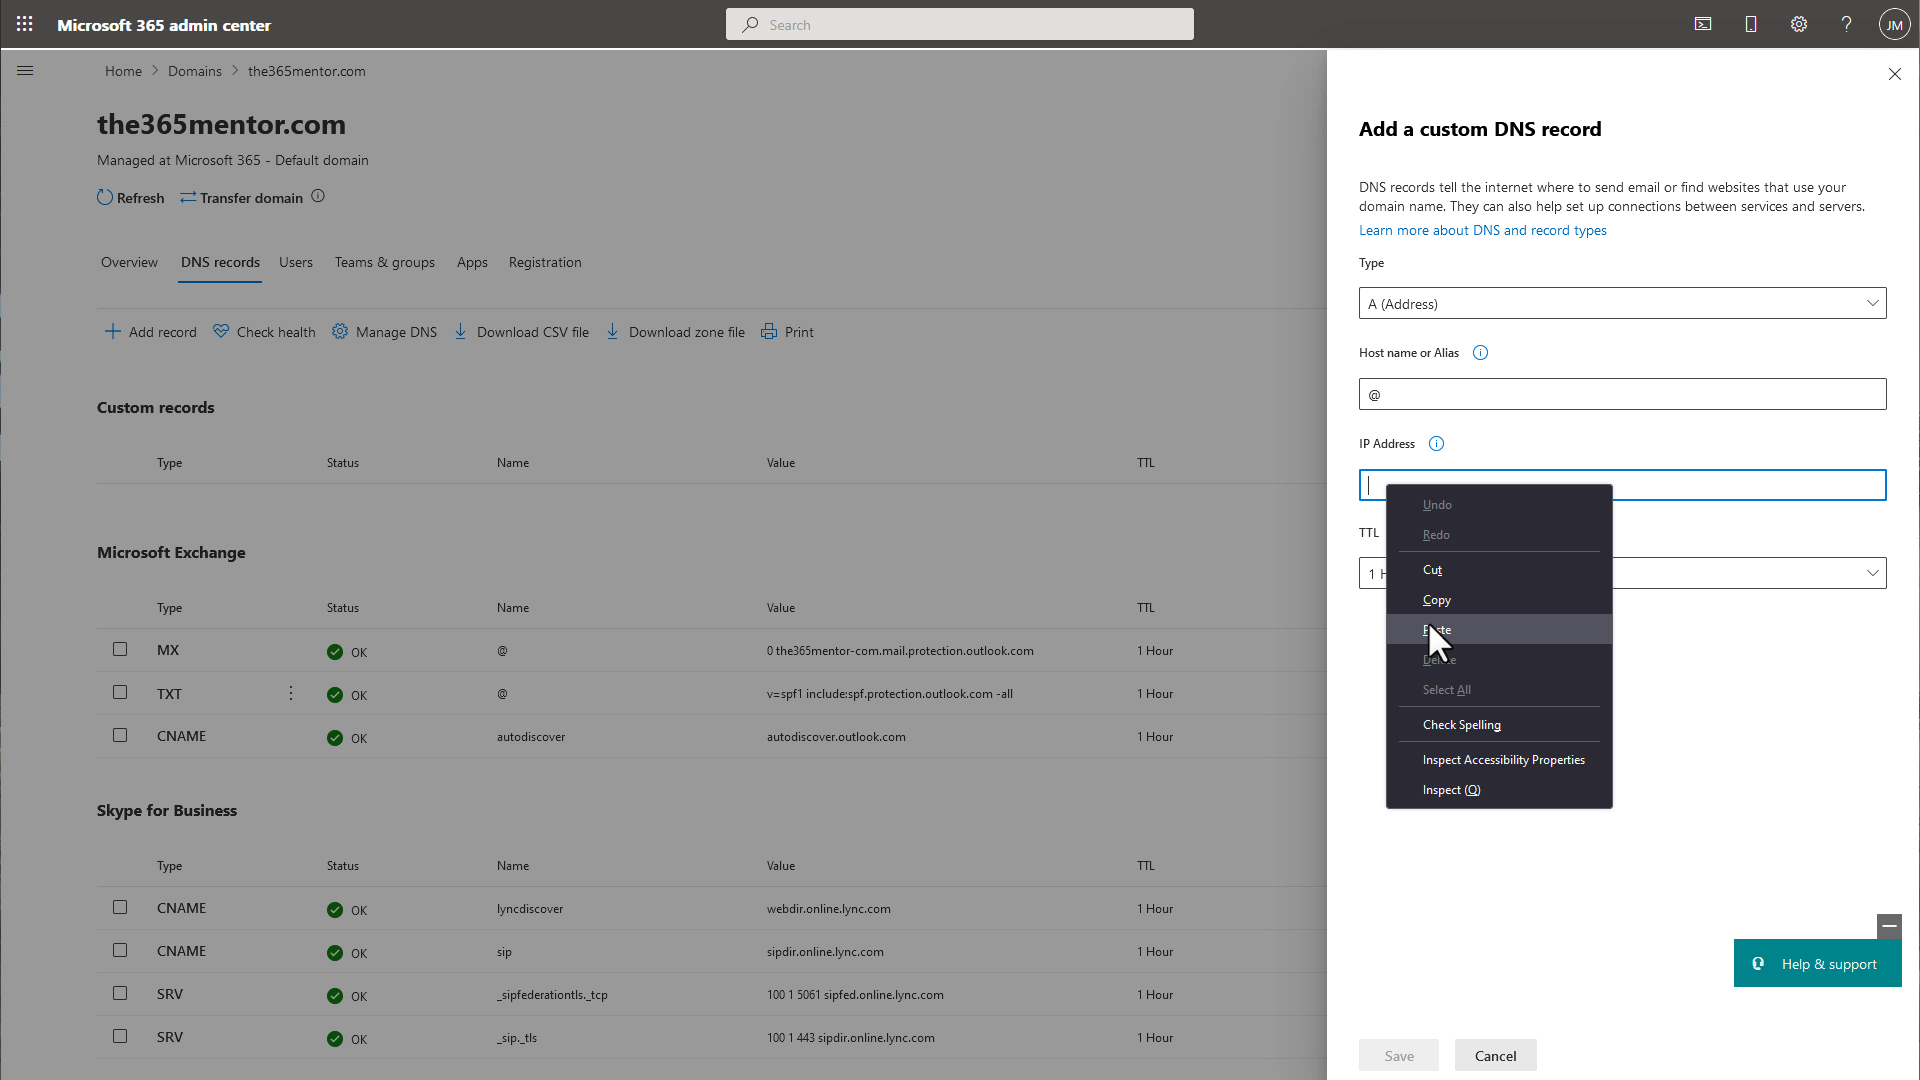
Switch back to Microsoft 365 and paste (or type) that value into the field "IP Address" item.
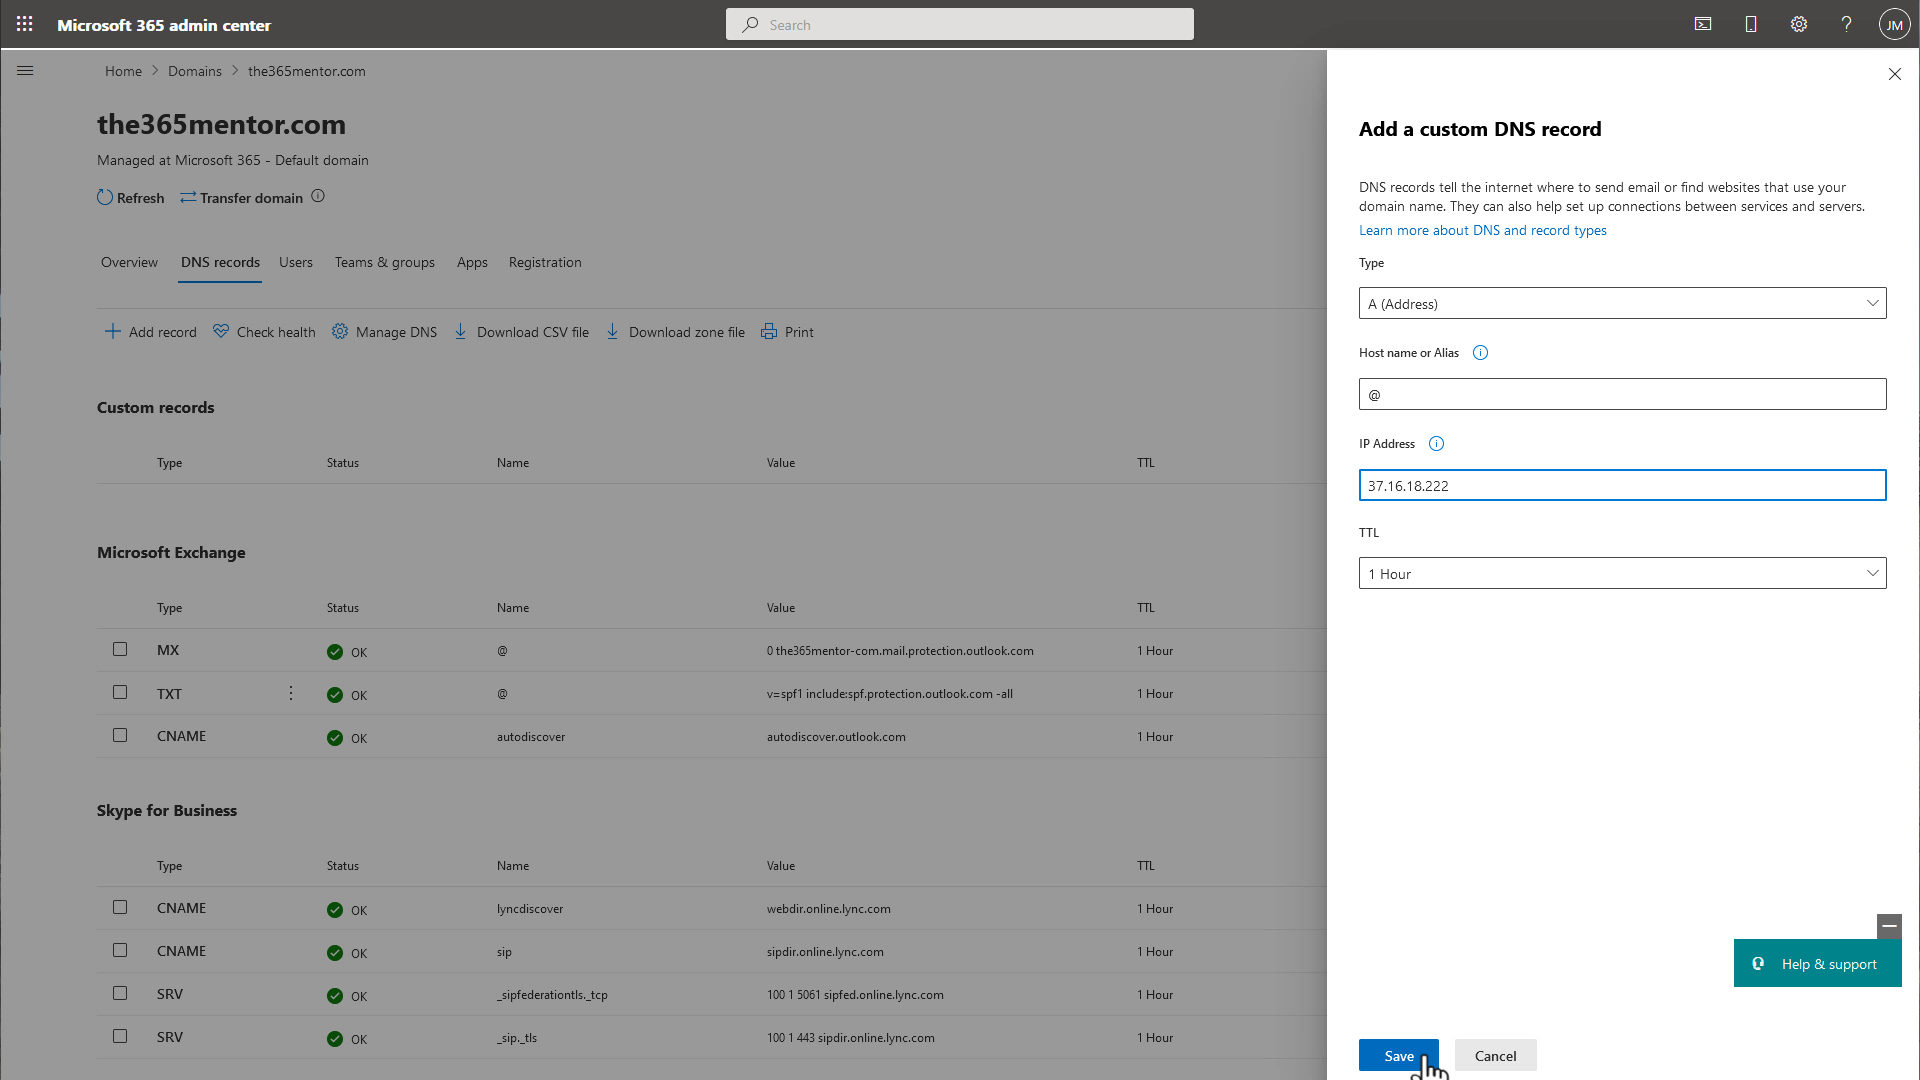
Double-check you have filled all the fields correctly:
- Type: A (Address)
- Host name or Alias: @
- IP Address: the value displayed on the SimpleWebsite365 tab
Then click the "Save" button.
When the sidebar closes then you have successfully saved your configuration. You can now close the Microsoft 365 tab and return to the SimpleWebsite365 tab.
In the SimpleWebsite365 tab you can now continue setting up your website.
Click the "Check domain configuration" button.
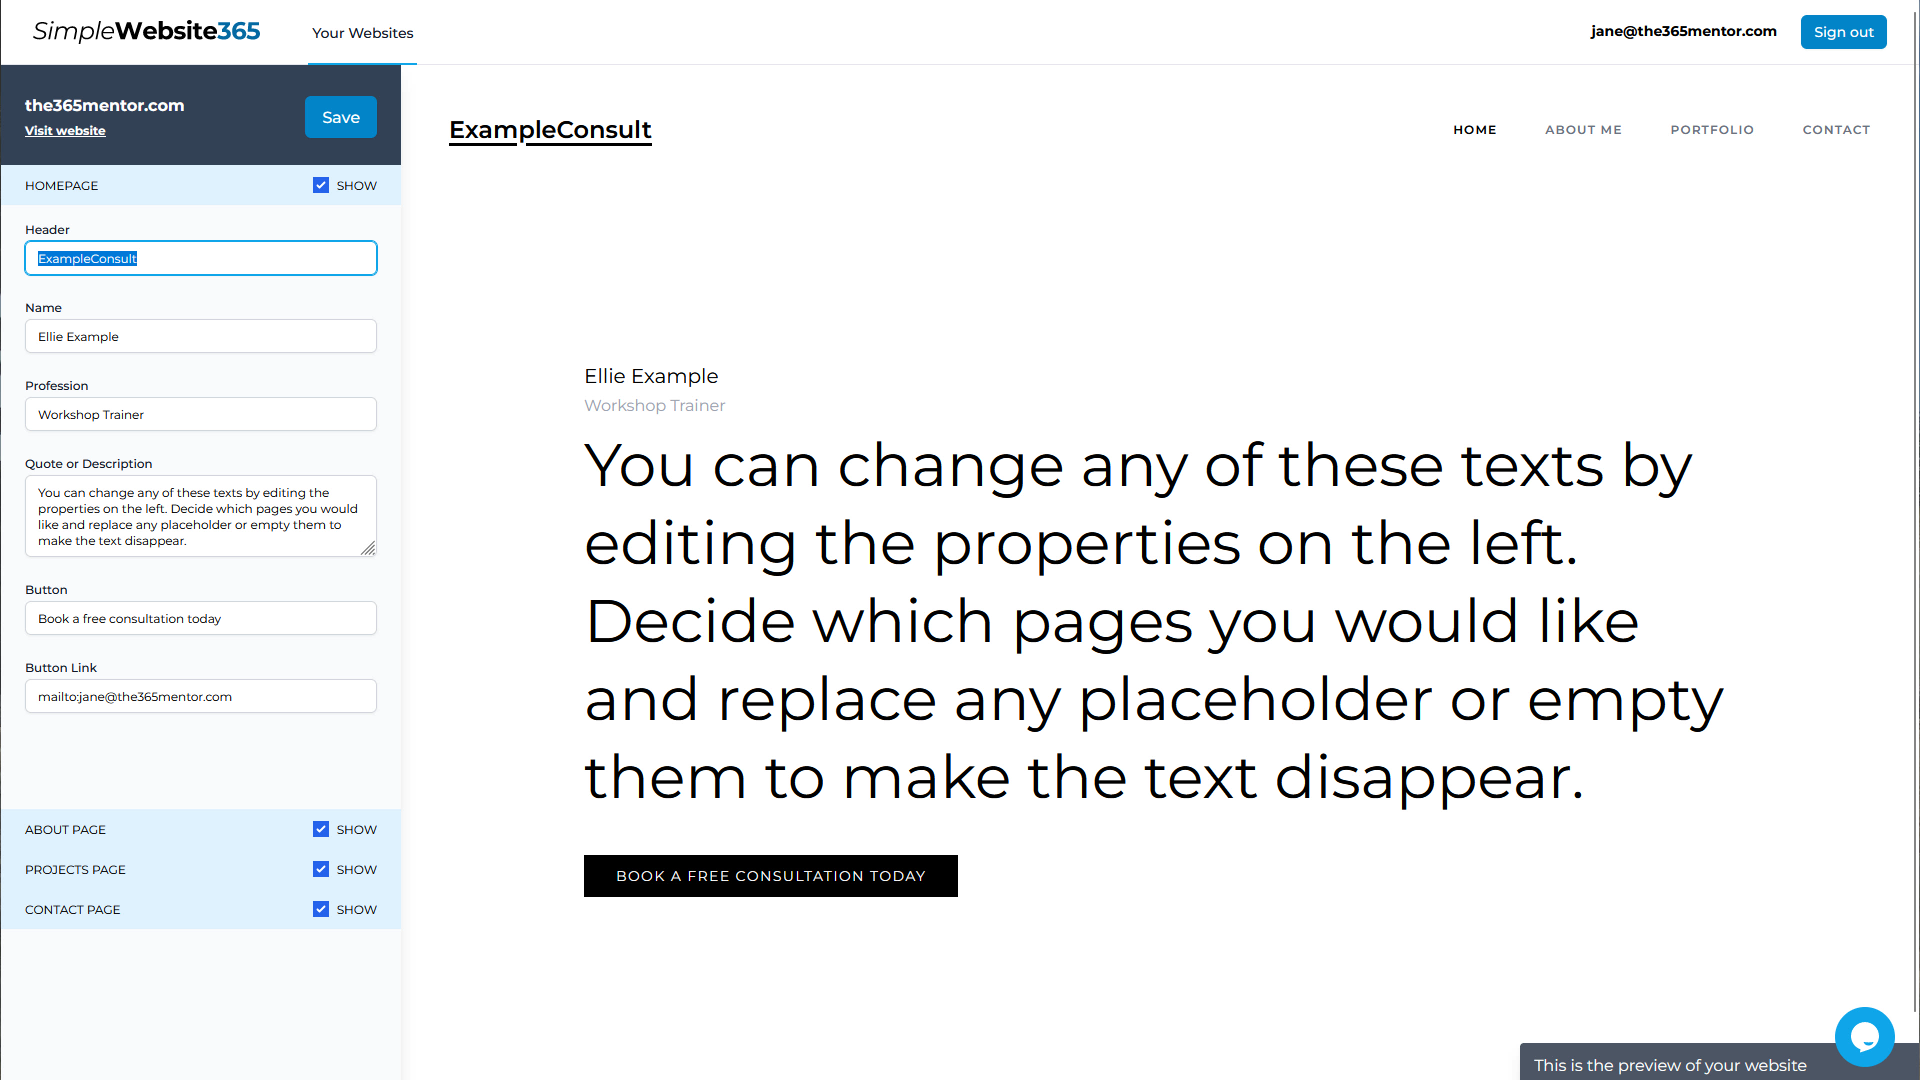
If everything was setup correctly, you are now shown the website editor.
In the background some final configuration steps will be made, but you can start editing your website information.
Just type into the available fields and upload some images. Choose which pages to show using the checkboxes.
A preview of your website is shown on the right next to the sidebar.
If you're happy with your changes or want to visit your real website click on your domain at the top left.
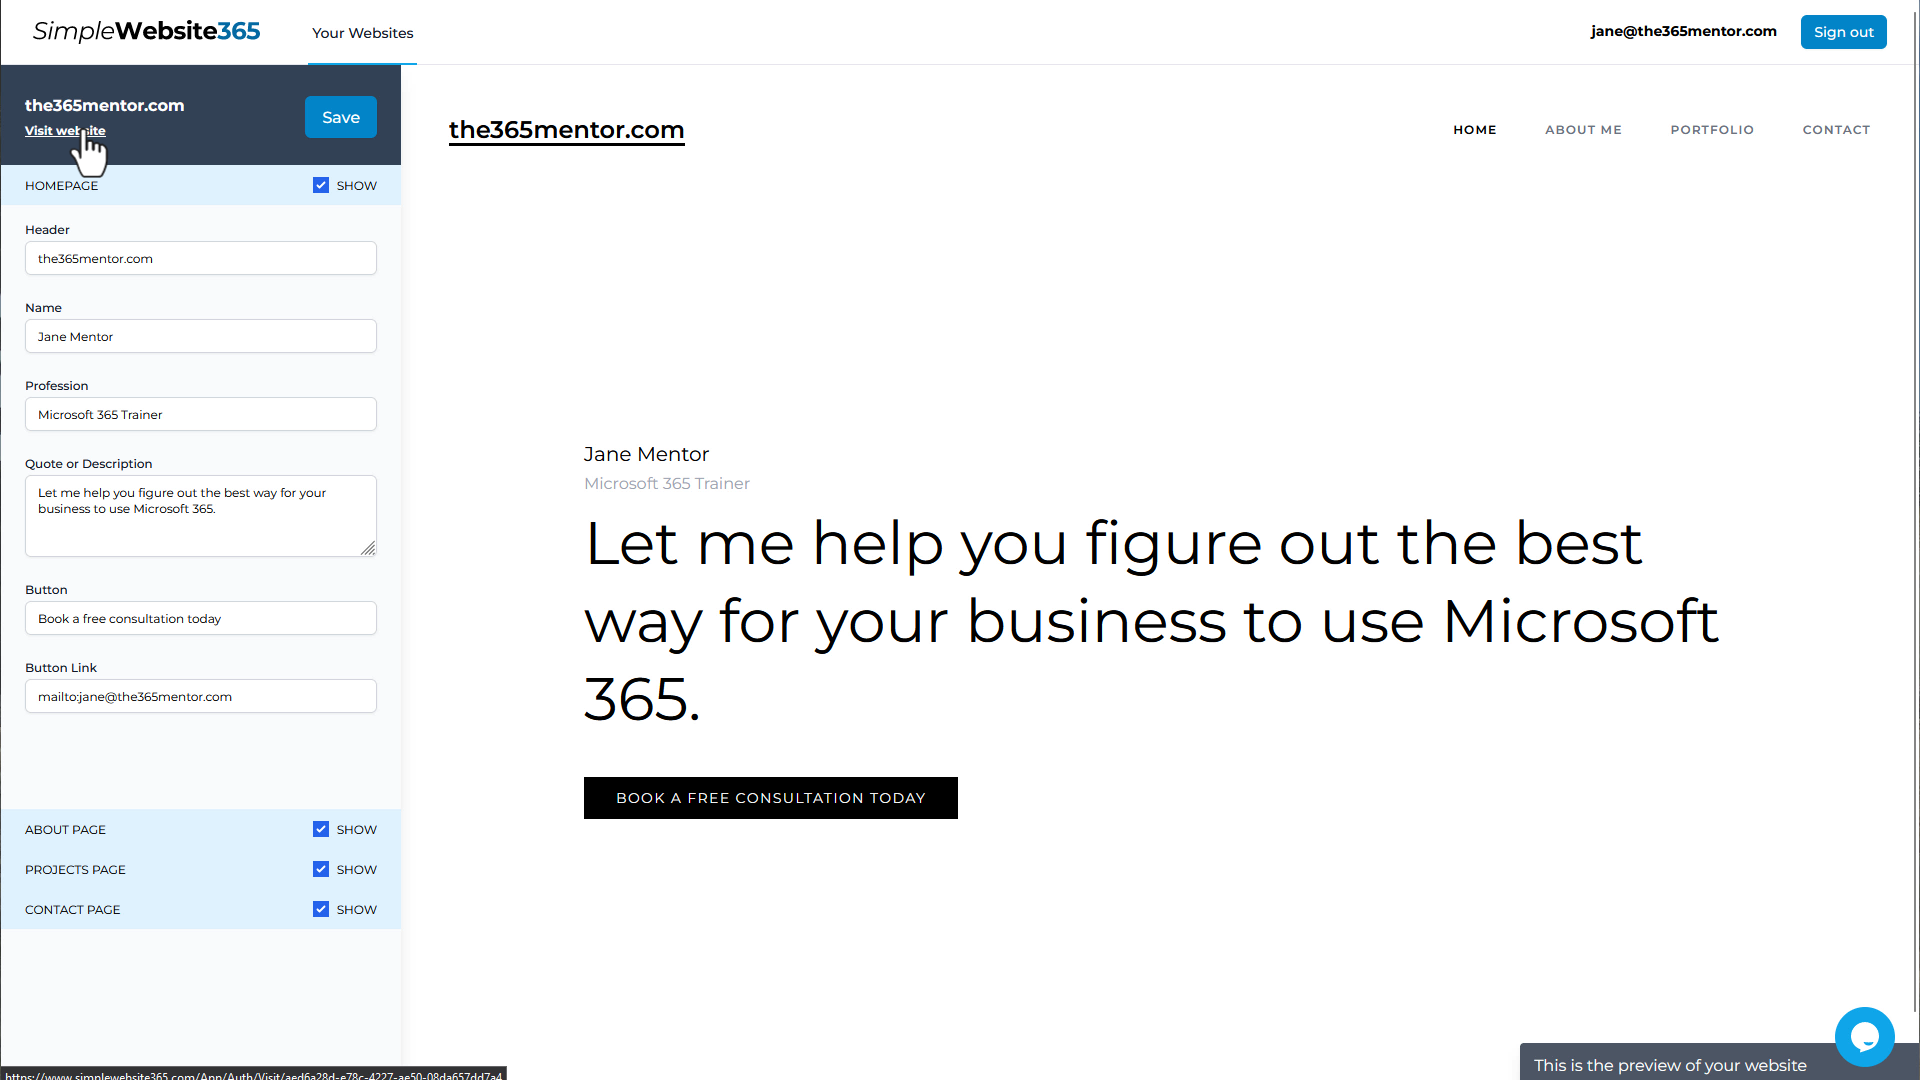
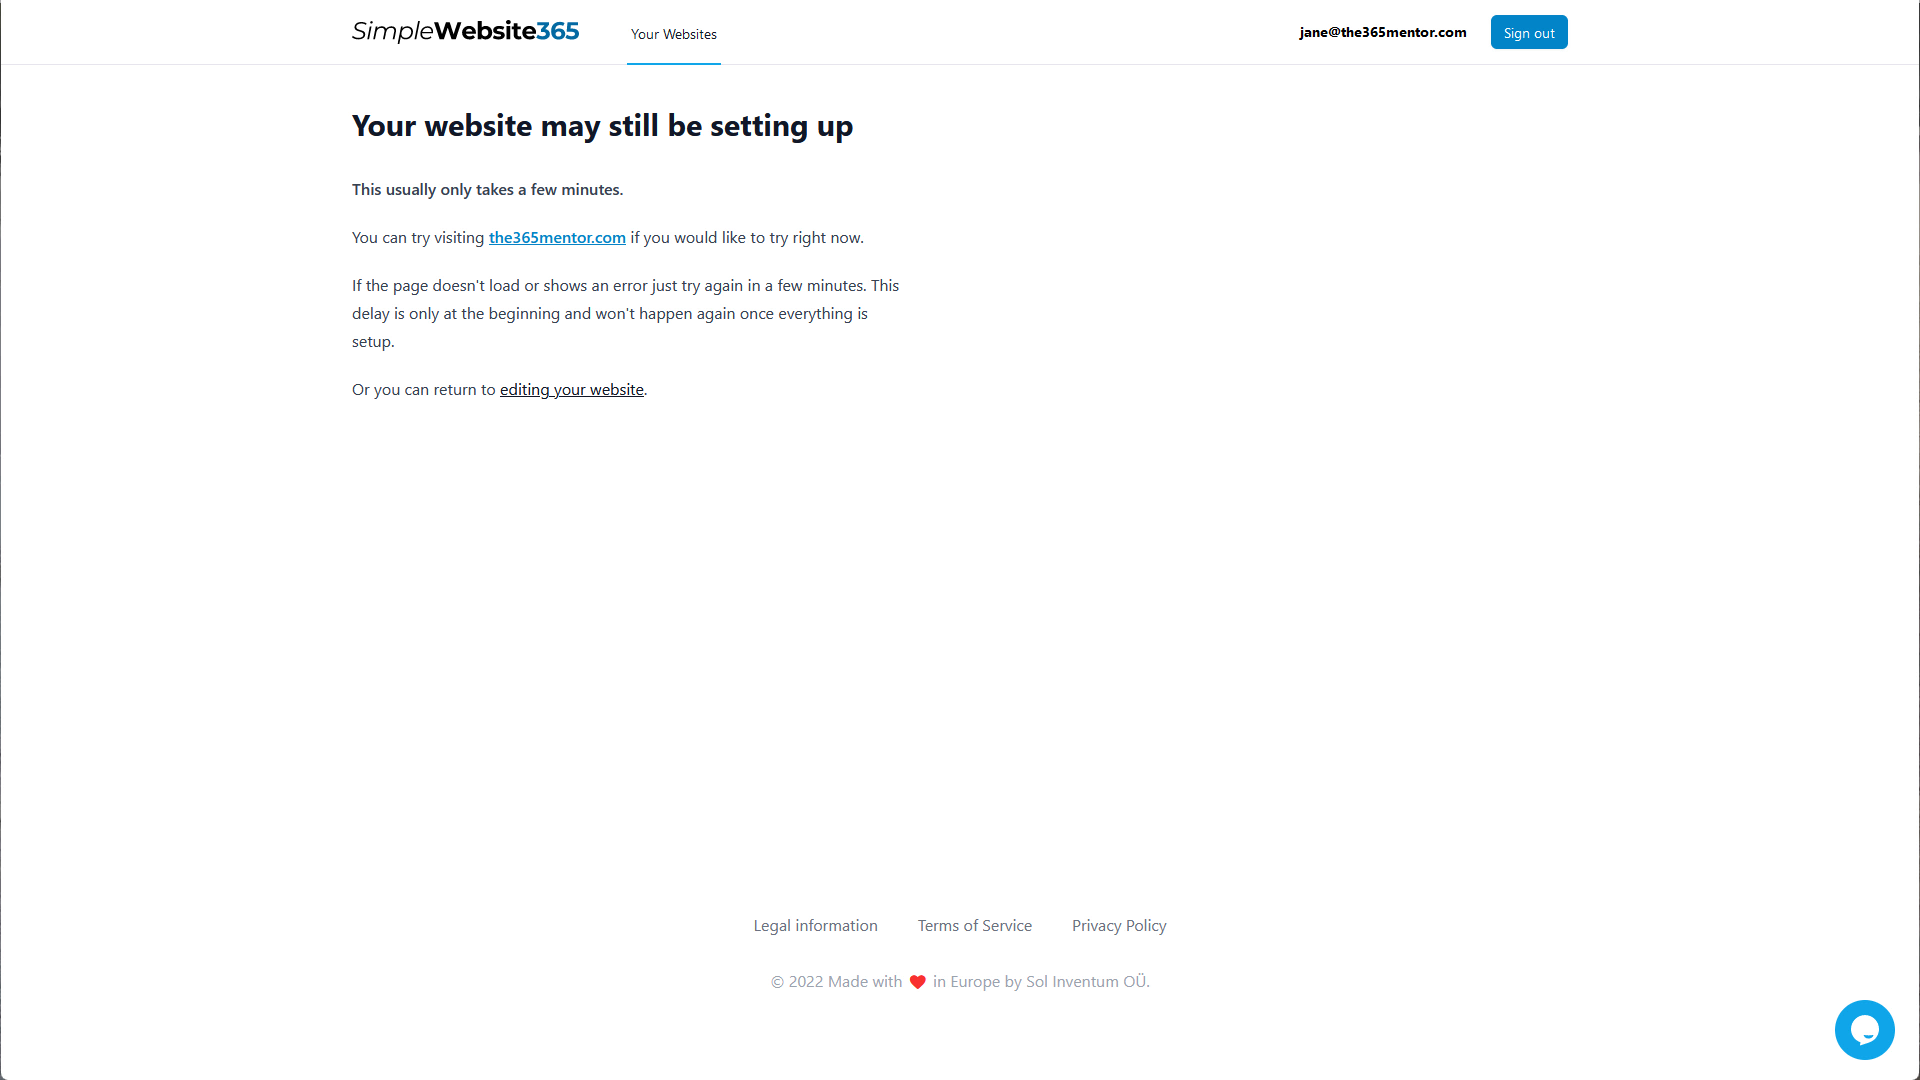
If you completed the configuration only recently you might be shown an intermediate. After about 30 minutes you can just visit your website by typing your domain in your browser directly.
Any changes you make in SimpleWebsite365 from now on are automatically applied to your public website.
Congratulations, you just setup your own business website.
If you get stuck anywhere...
Click the little icon on the bottom right to talk to our support agents or leave us a message. We will try to respond as soon as possible.
